


Perfect For DIY
Create beautiful polished concrete with no experience without the need for training.
Easy to apply
No experience needed
Perfect for showers, splashbacks and feature walls
Specification
Microcement Wall Tile Kit
Transform your tiled walls with our comprehensive Microcement Wall Tile Kit, designed to provide a sleek, modern finish without the need for tile removal. This all-in-one solution includes:
- Primer: Ensures optimal adhesion of the microcement to your existing tile surface.
- Fiberglass Mesh: Reinforces the 1st of 3 microcement layers, minimizing the risk of cracks and ensuring durability.
- 3-Coat Microcement Pack: Comprises 3 microcement layers to achieve a smooth, polished concrete appearance.
- Resin: Enhances the flexibility and hardness of the microcement, contributing to a long-lasting finish.
Features:
- Beginner-Friendly Application: Suitable for DIY enthusiasts, our kit comes with detailed instructions to guide you through each step.
- Versatile Coverage: Ideal for kitchens, bathrooms, and other tiled wall areas, both indoors and outdoors.
- Durable Finish: Once sealed, the microcement surface is waterproof, UV-stable, and resistant to daily wear and tear.
- Eco-Friendly Composition: Our microcement is silica-free, ensuring a safer application environment.
Application Steps:
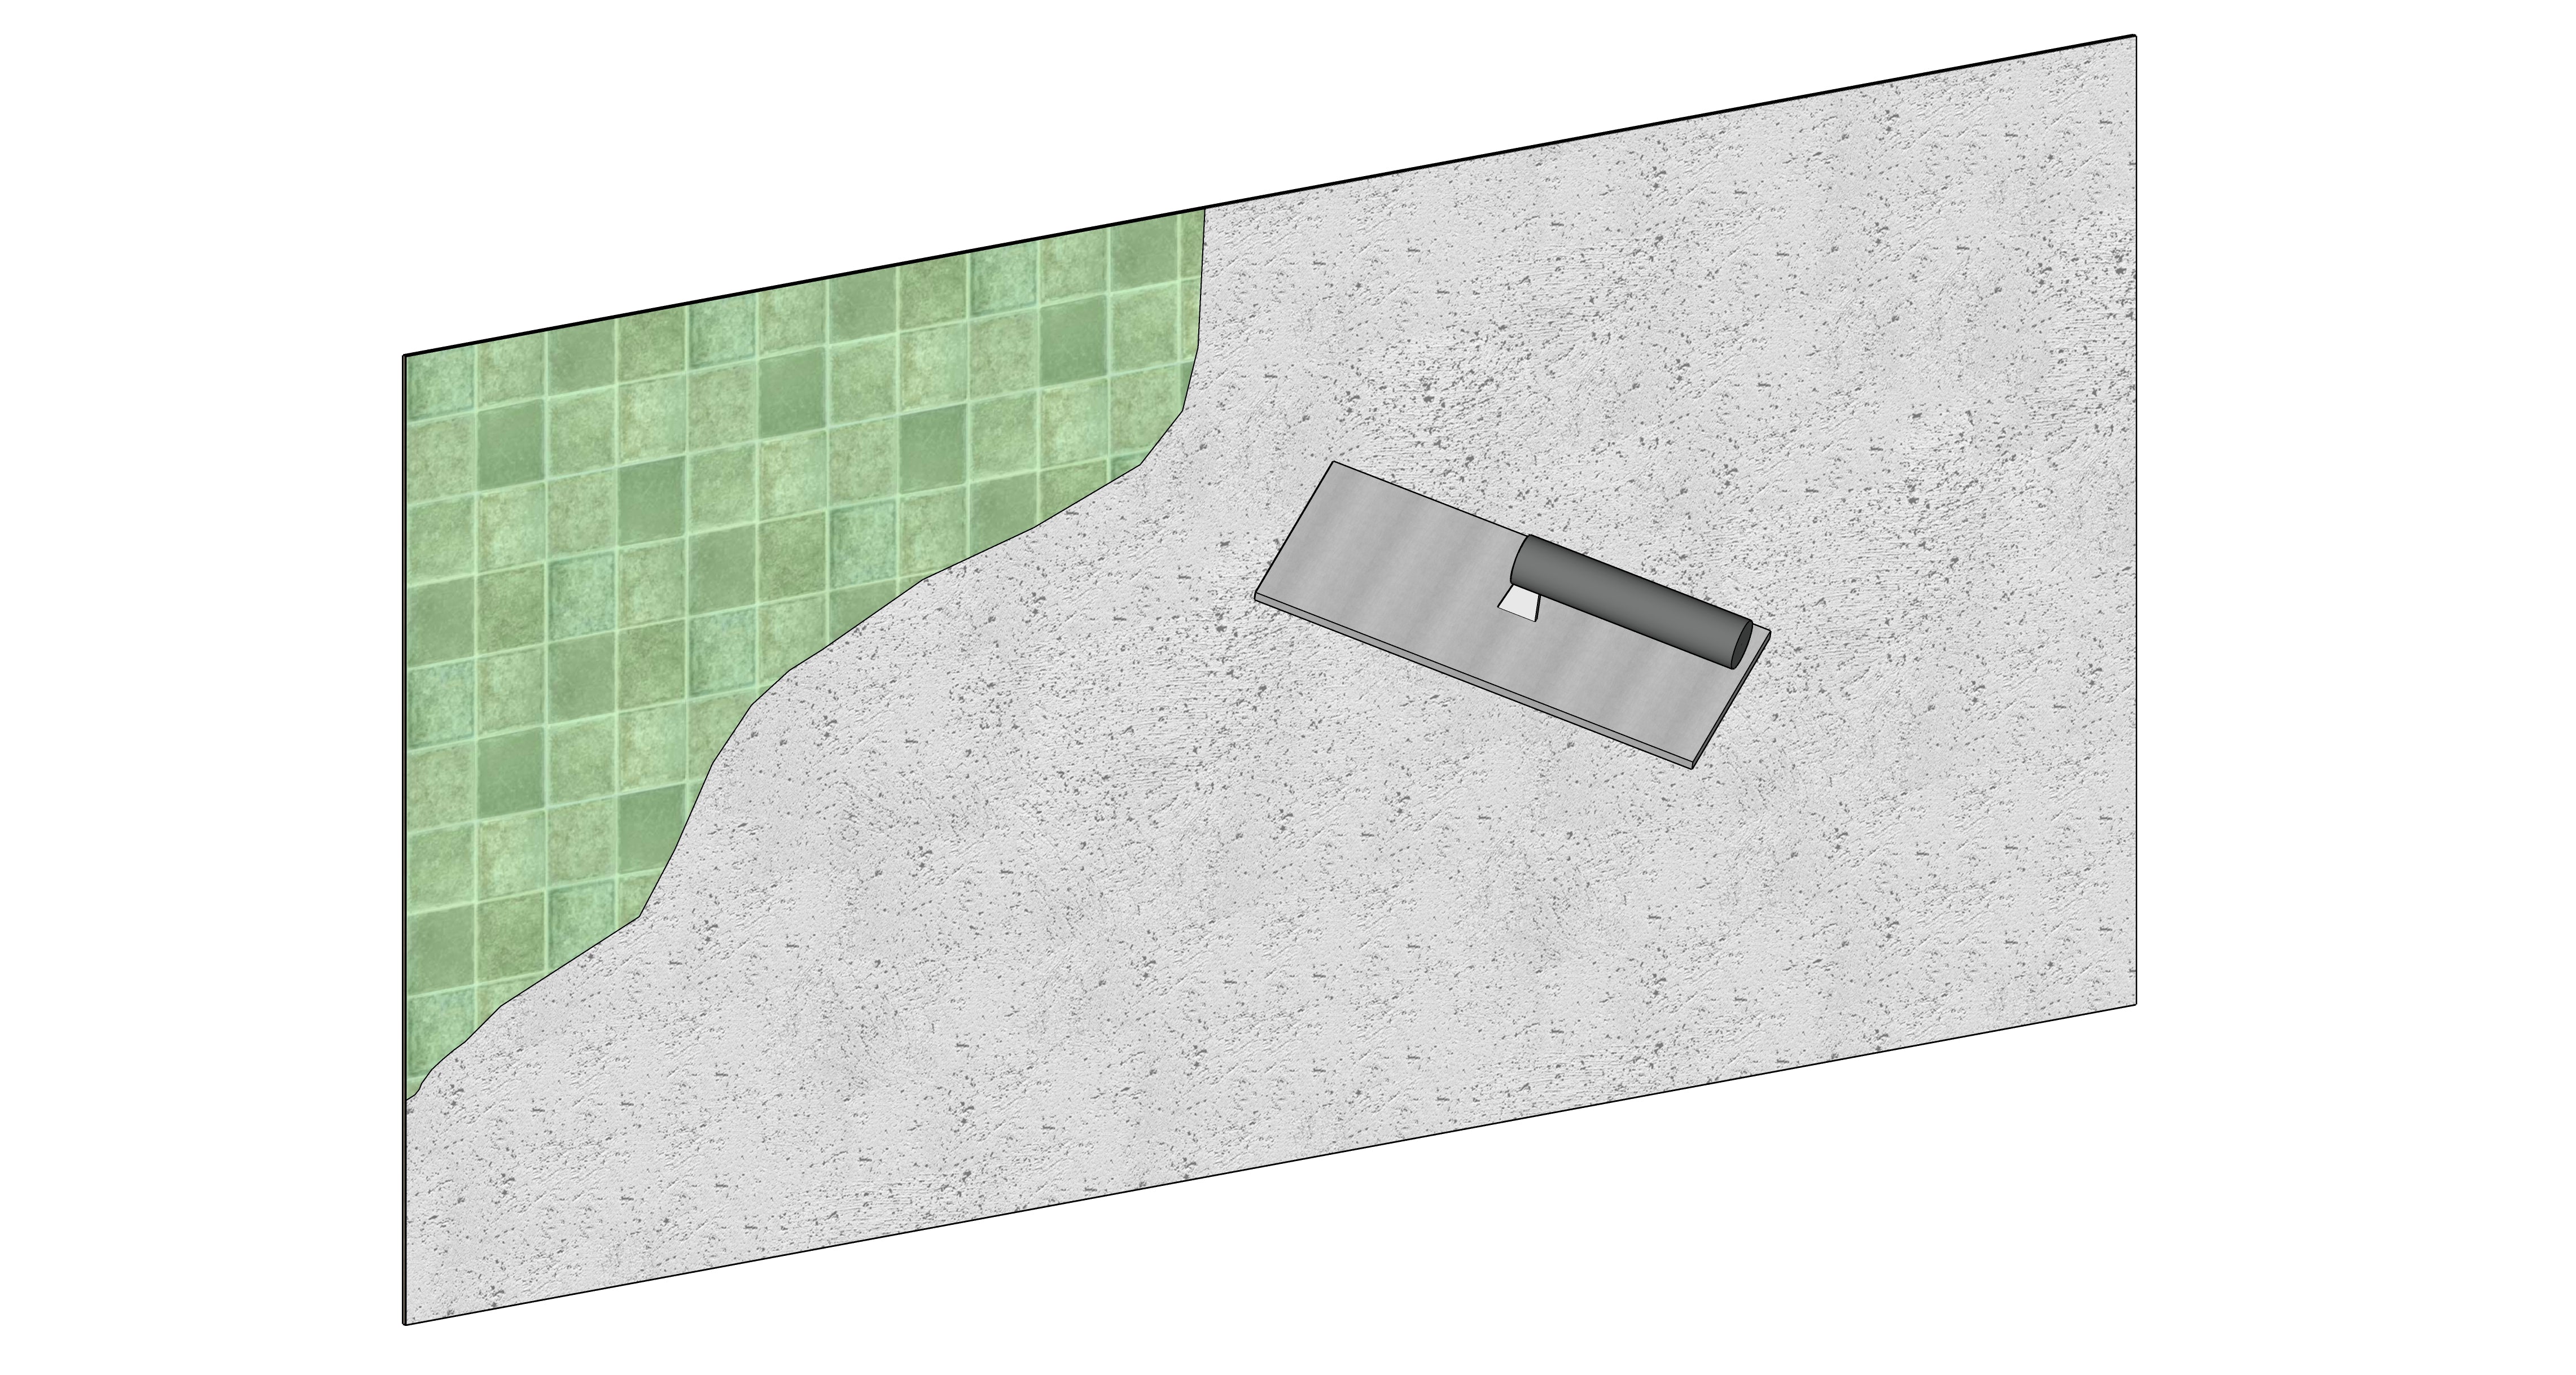
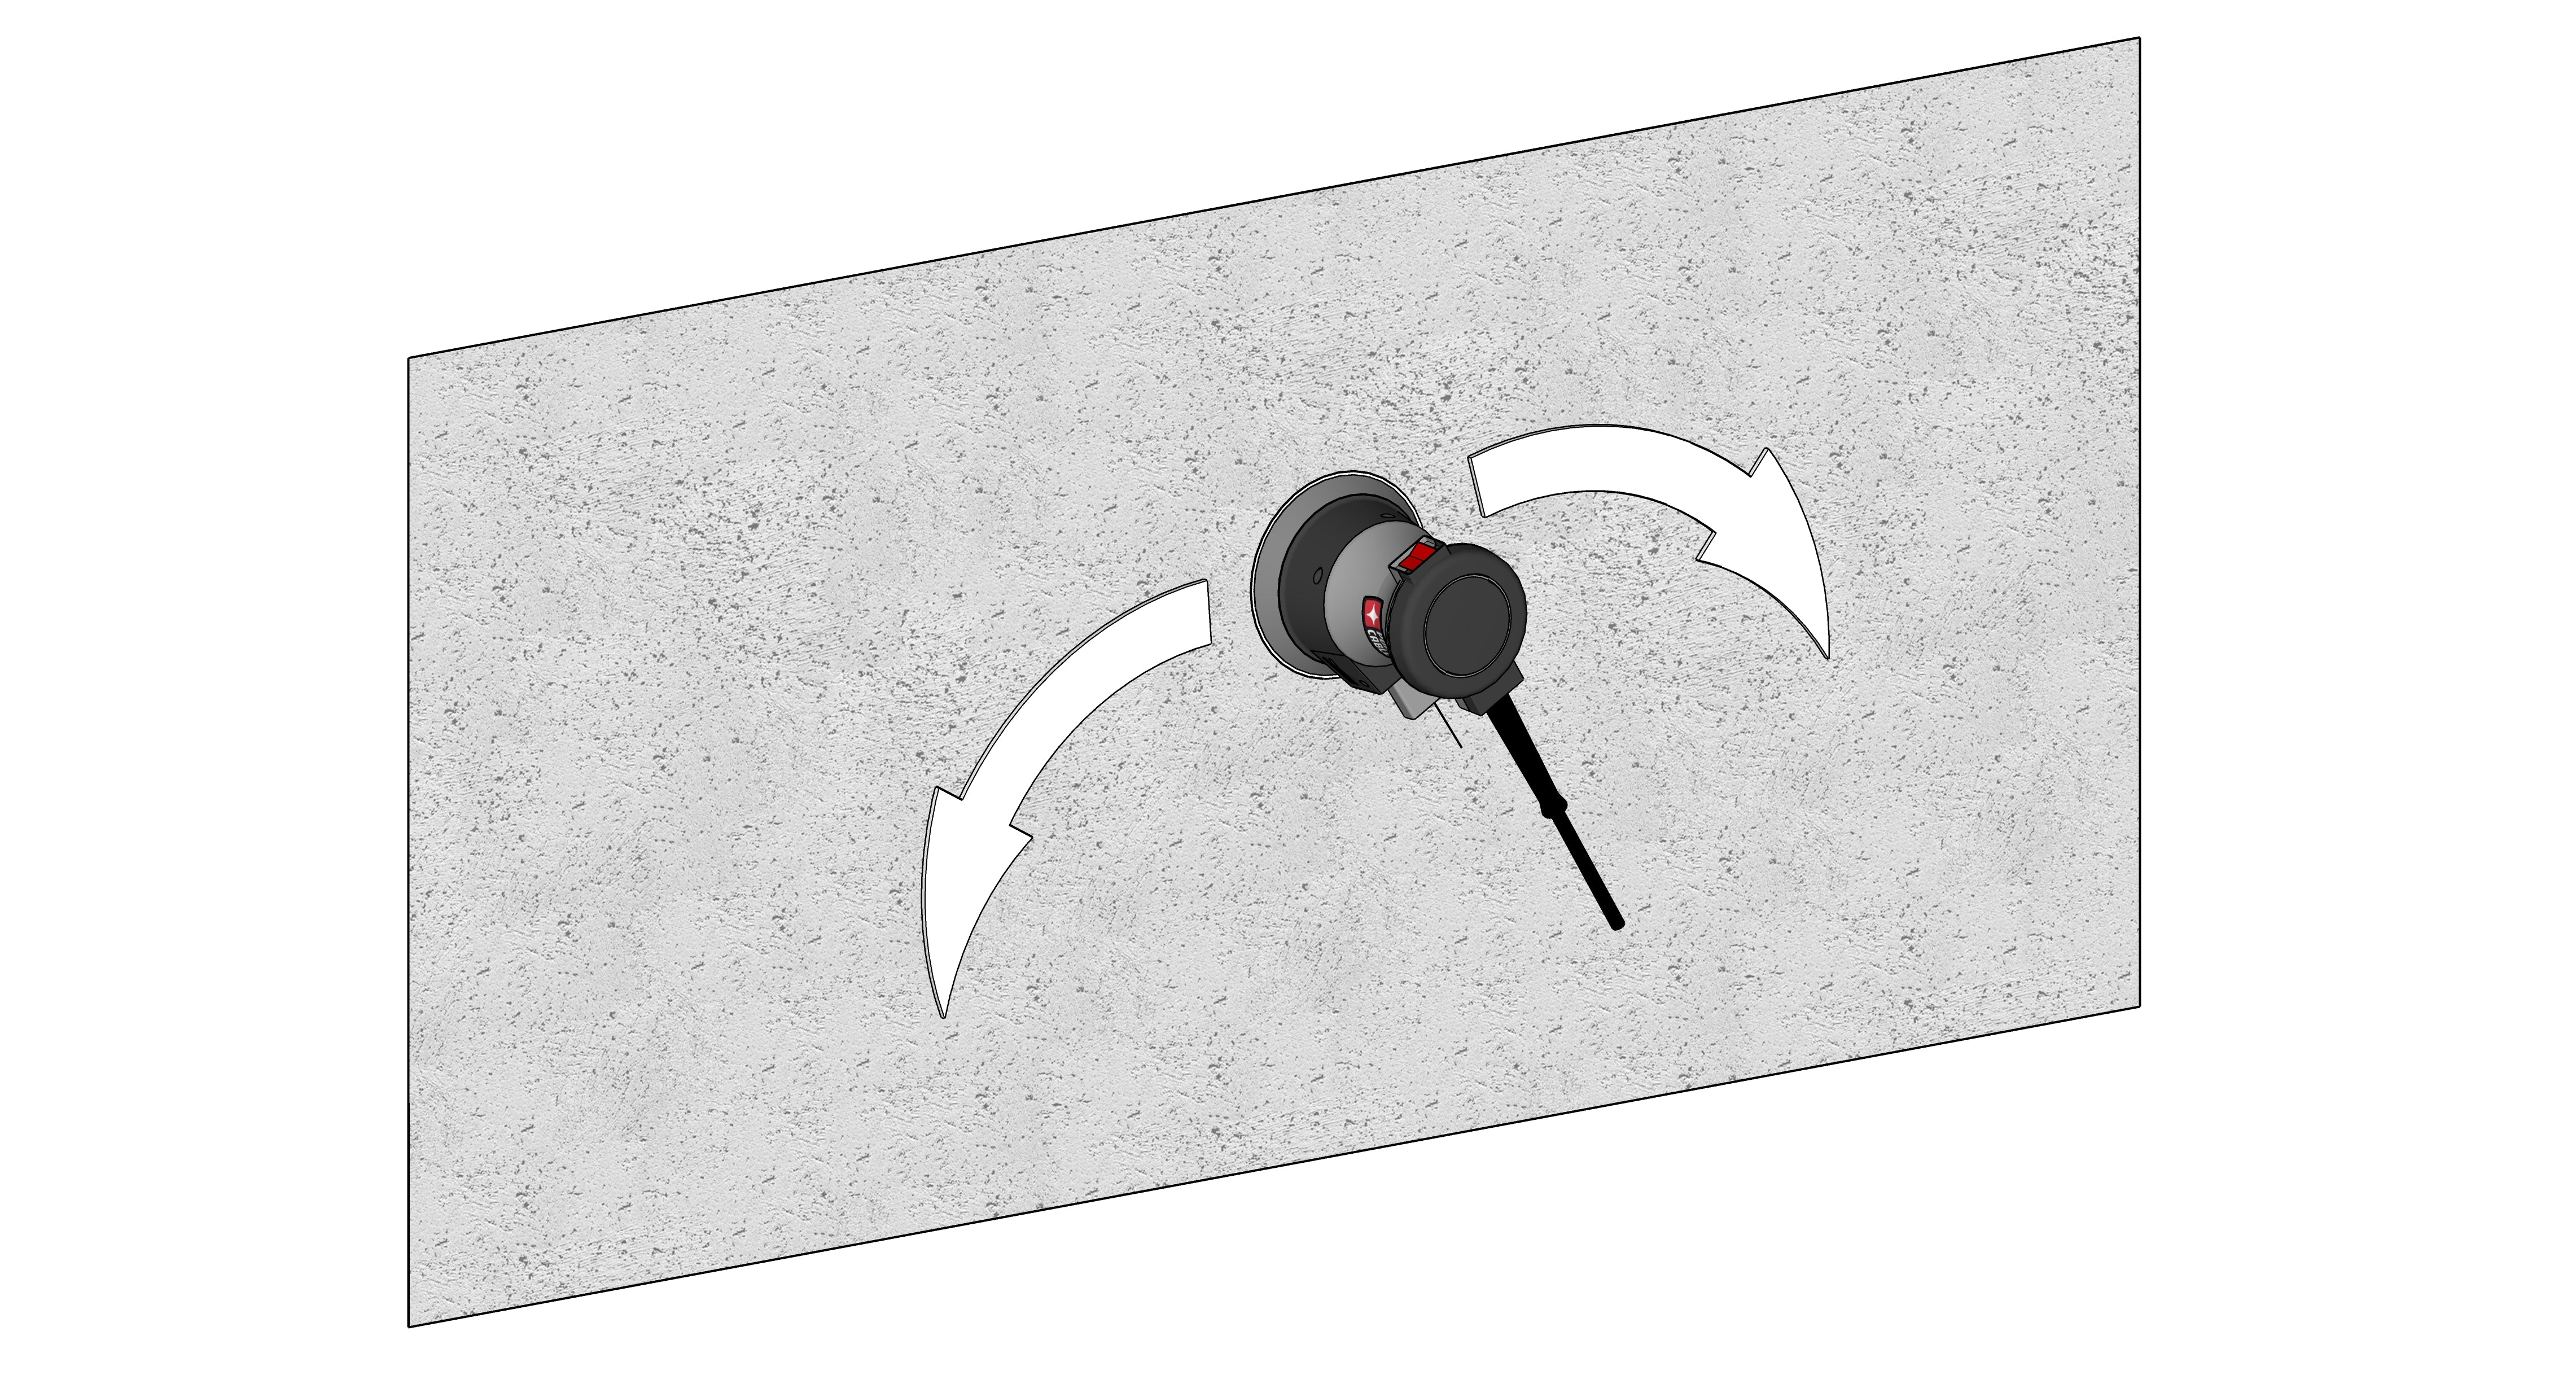
- Surface Preparation: Clean the tiled surface thoroughly to remove any grease or dirt.
- Primer Application: Apply the primer to ensure proper adhesion of the microcement.
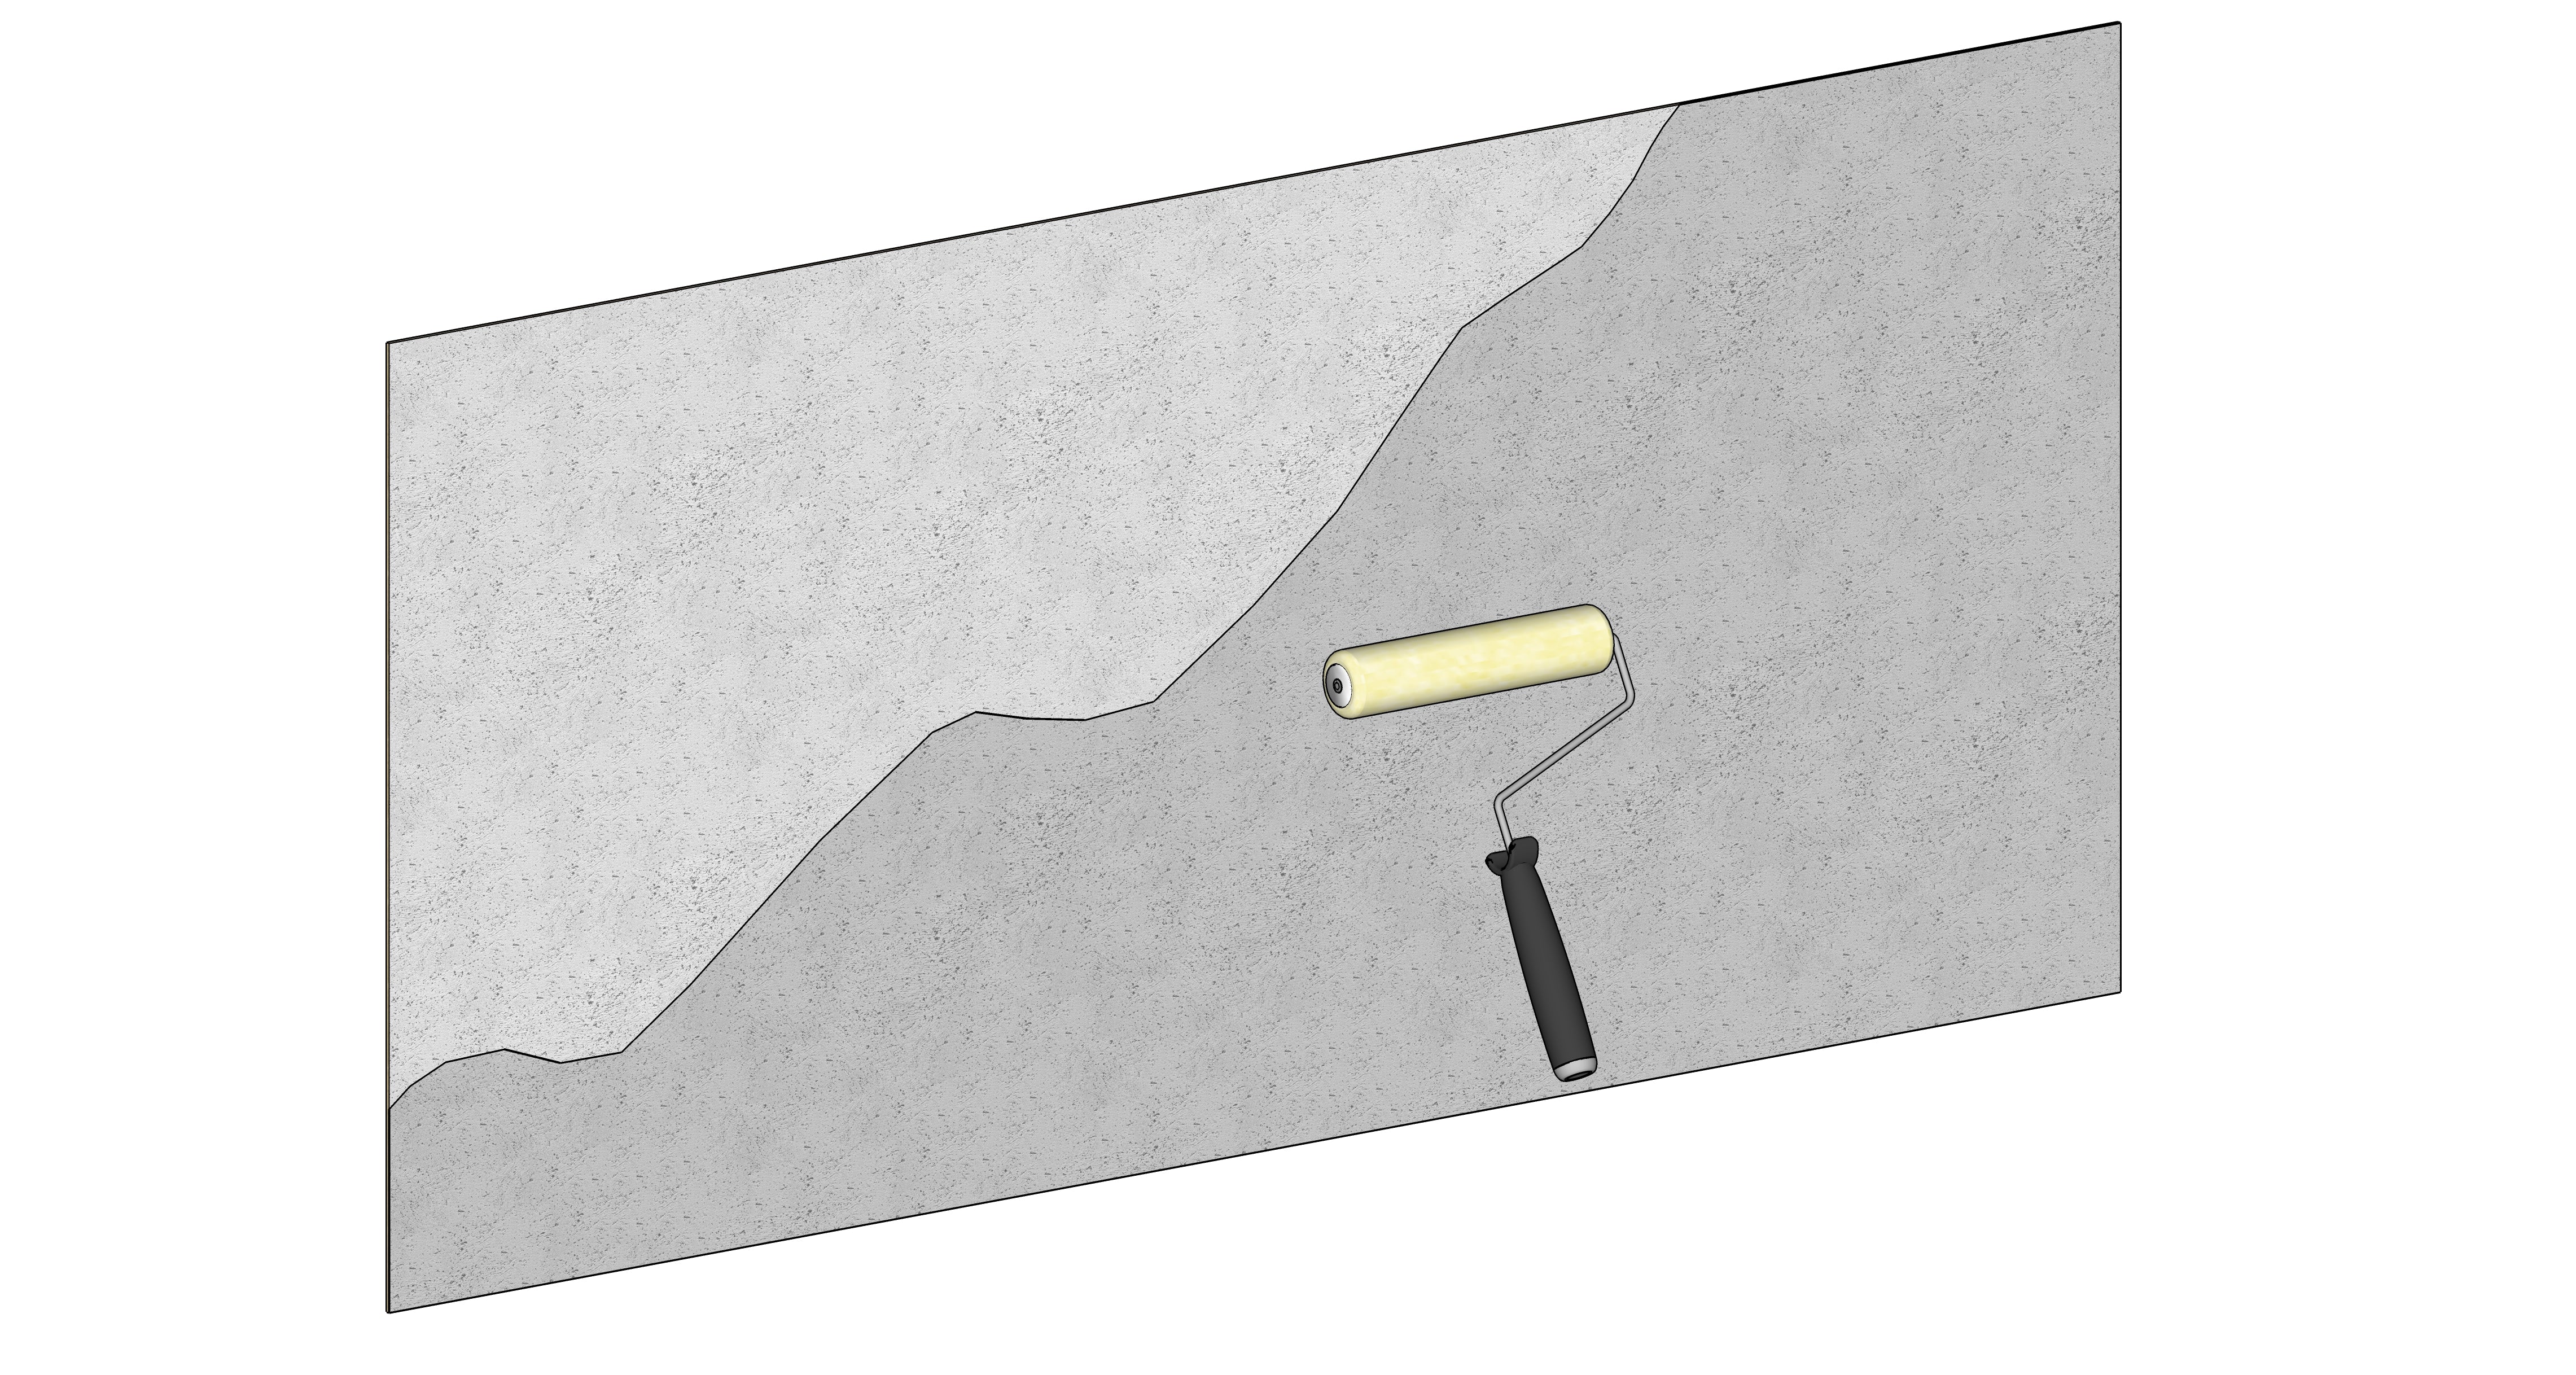
- Coat 1: Apply the first coat of microcement to cover the tile joints and create a uniform surface.
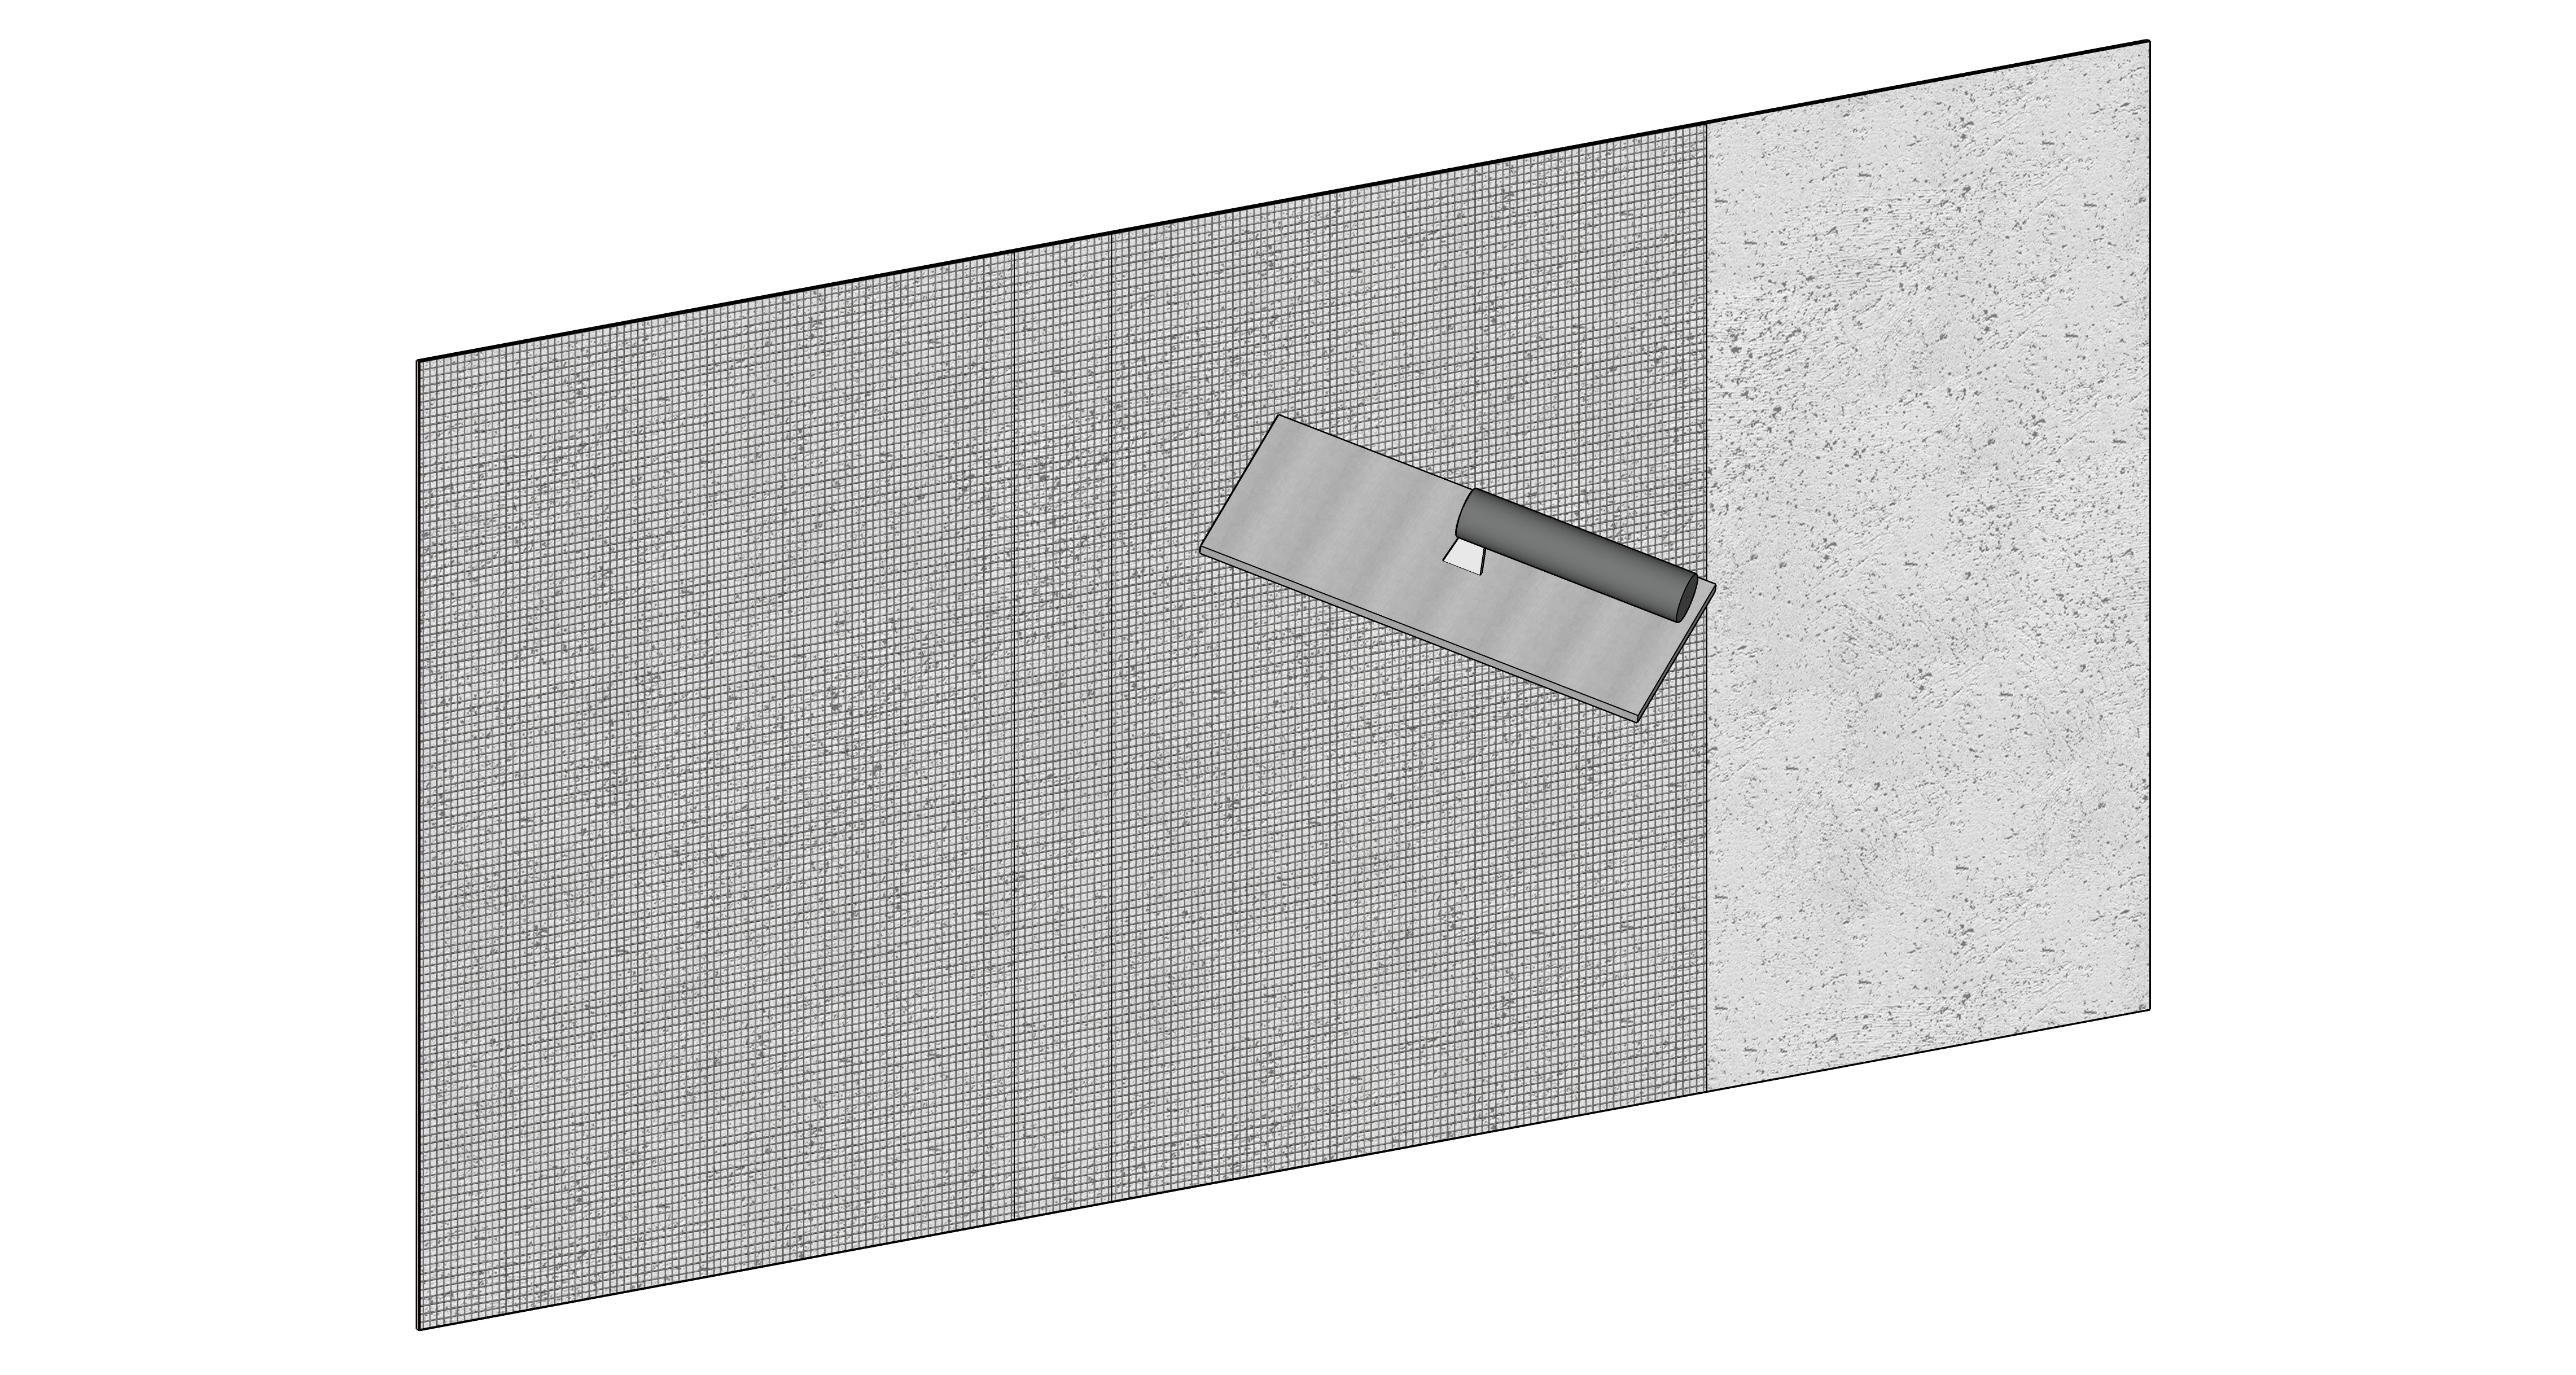
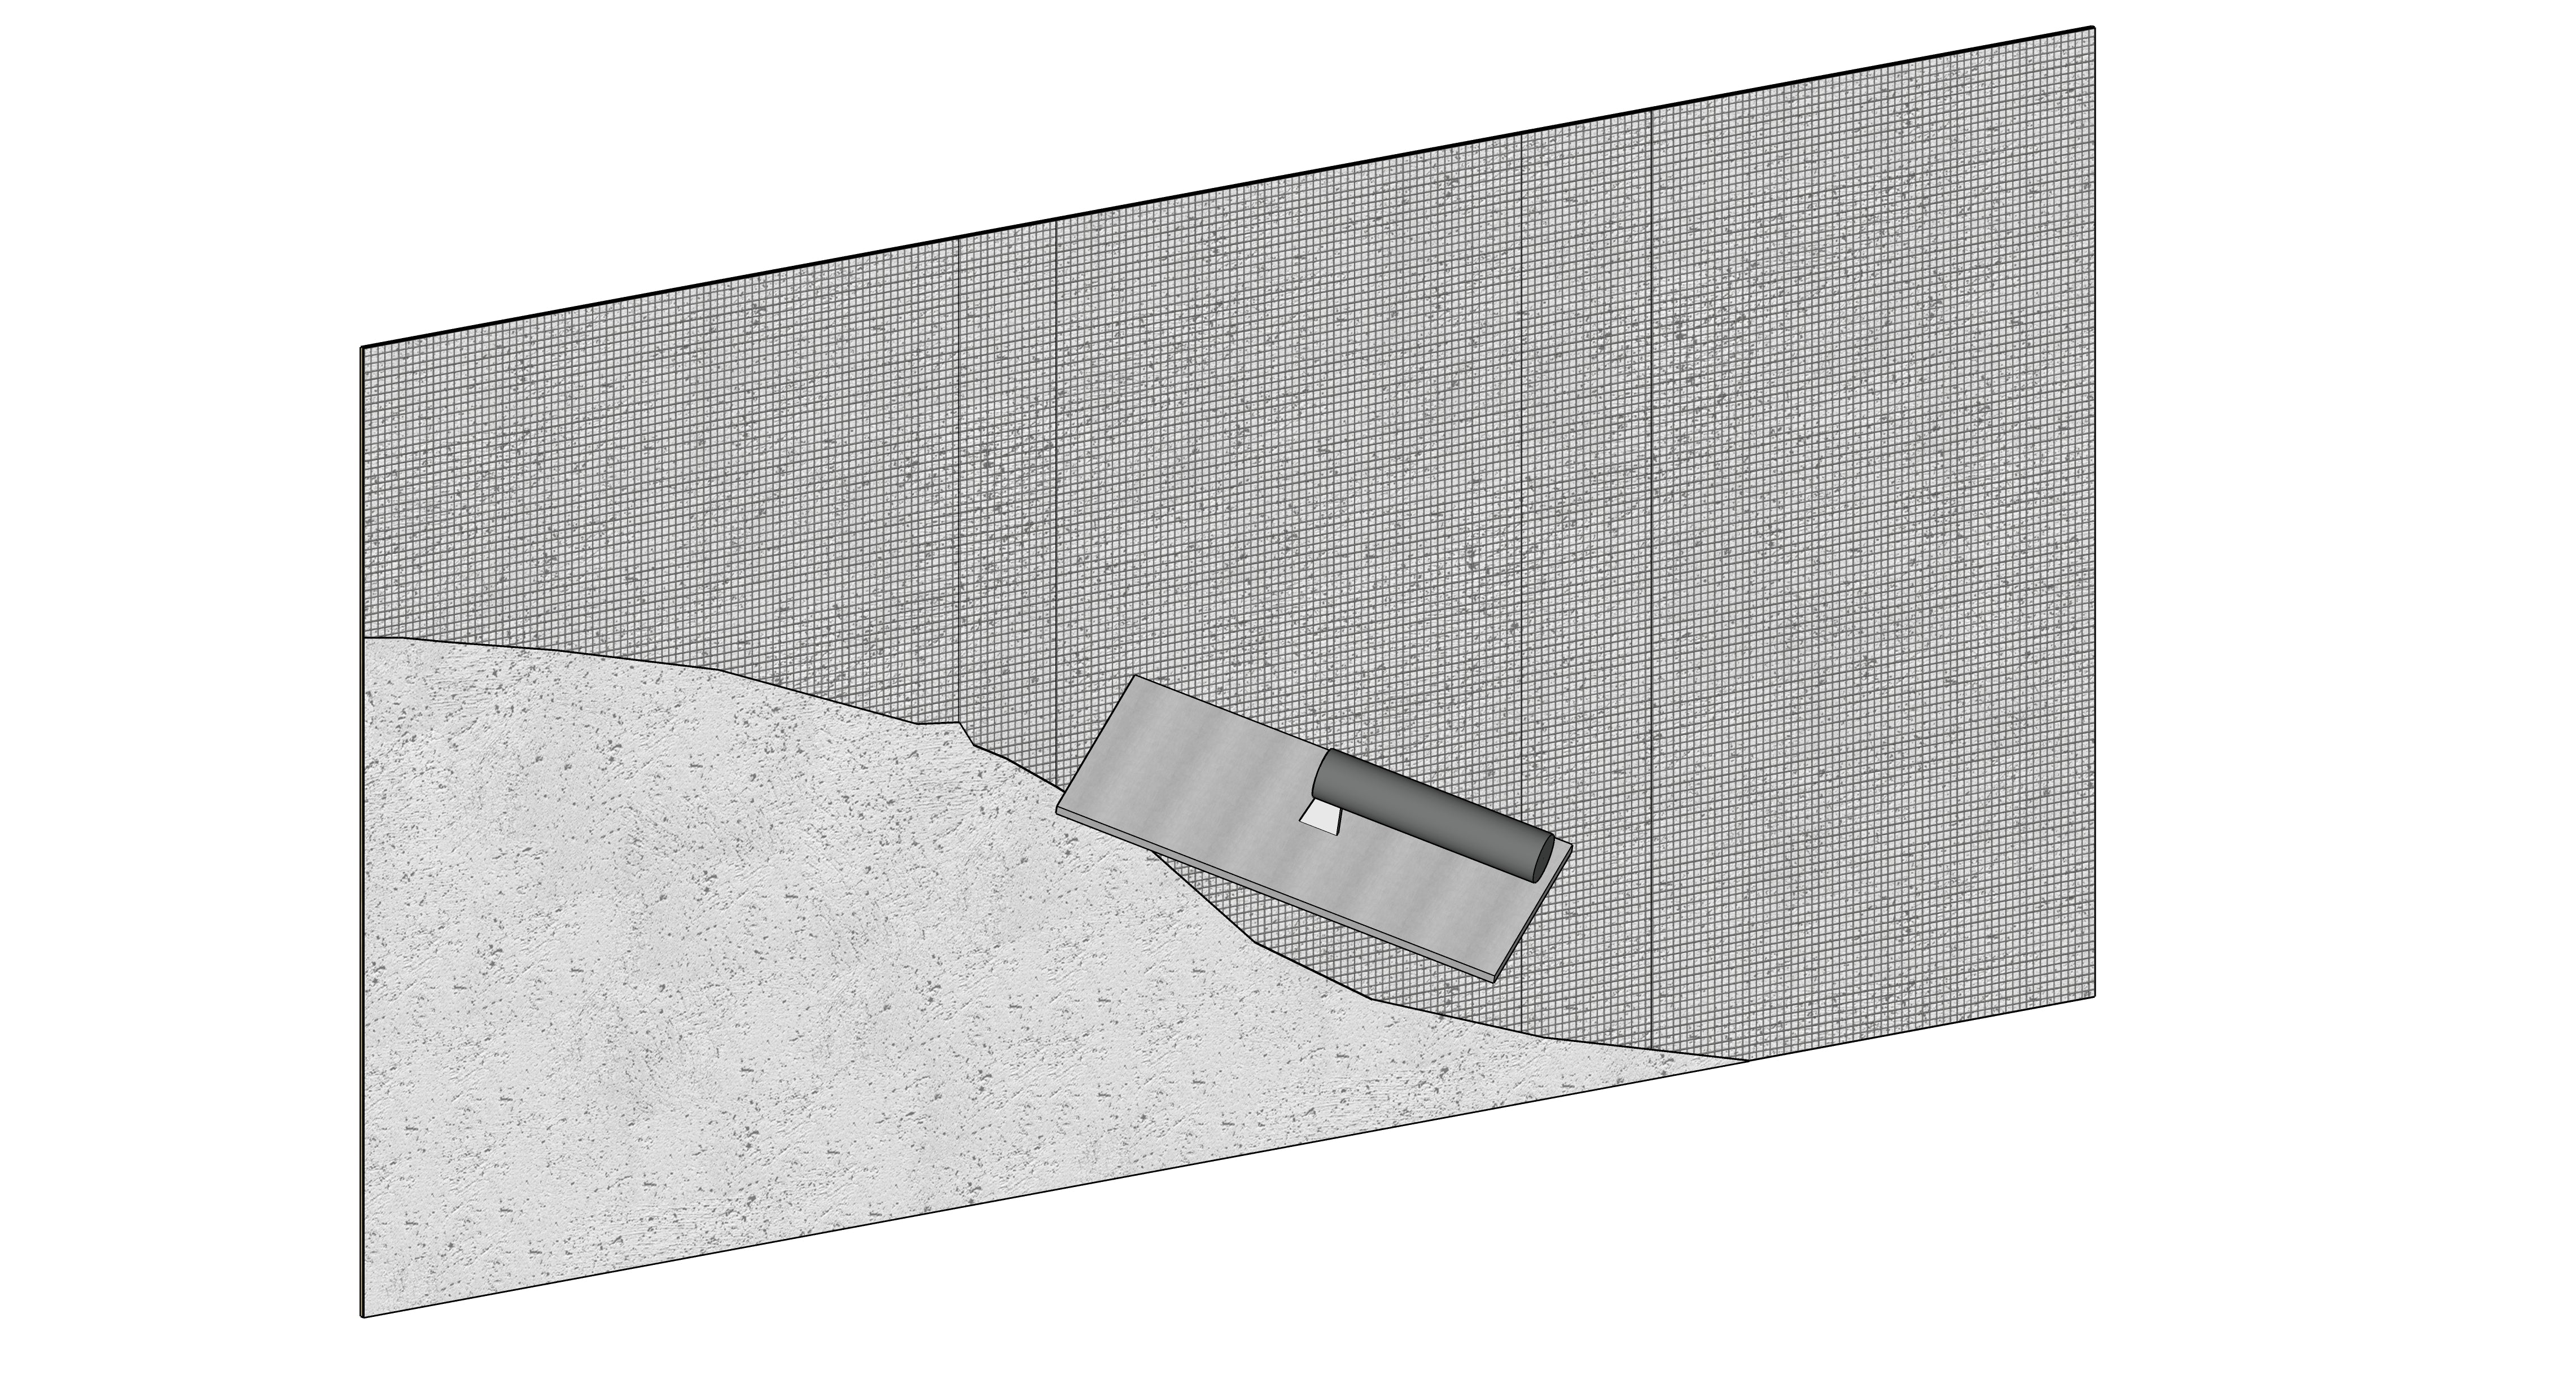
- Mesh Installation: Embed the fiberglass mesh into the primed surface to reinforce the microcement layer. Let dry and sand smooth.
- Coat 2: Once the first coat is dry, apply the 2nd microcement layer for added strength. Let dry and sand smooth.
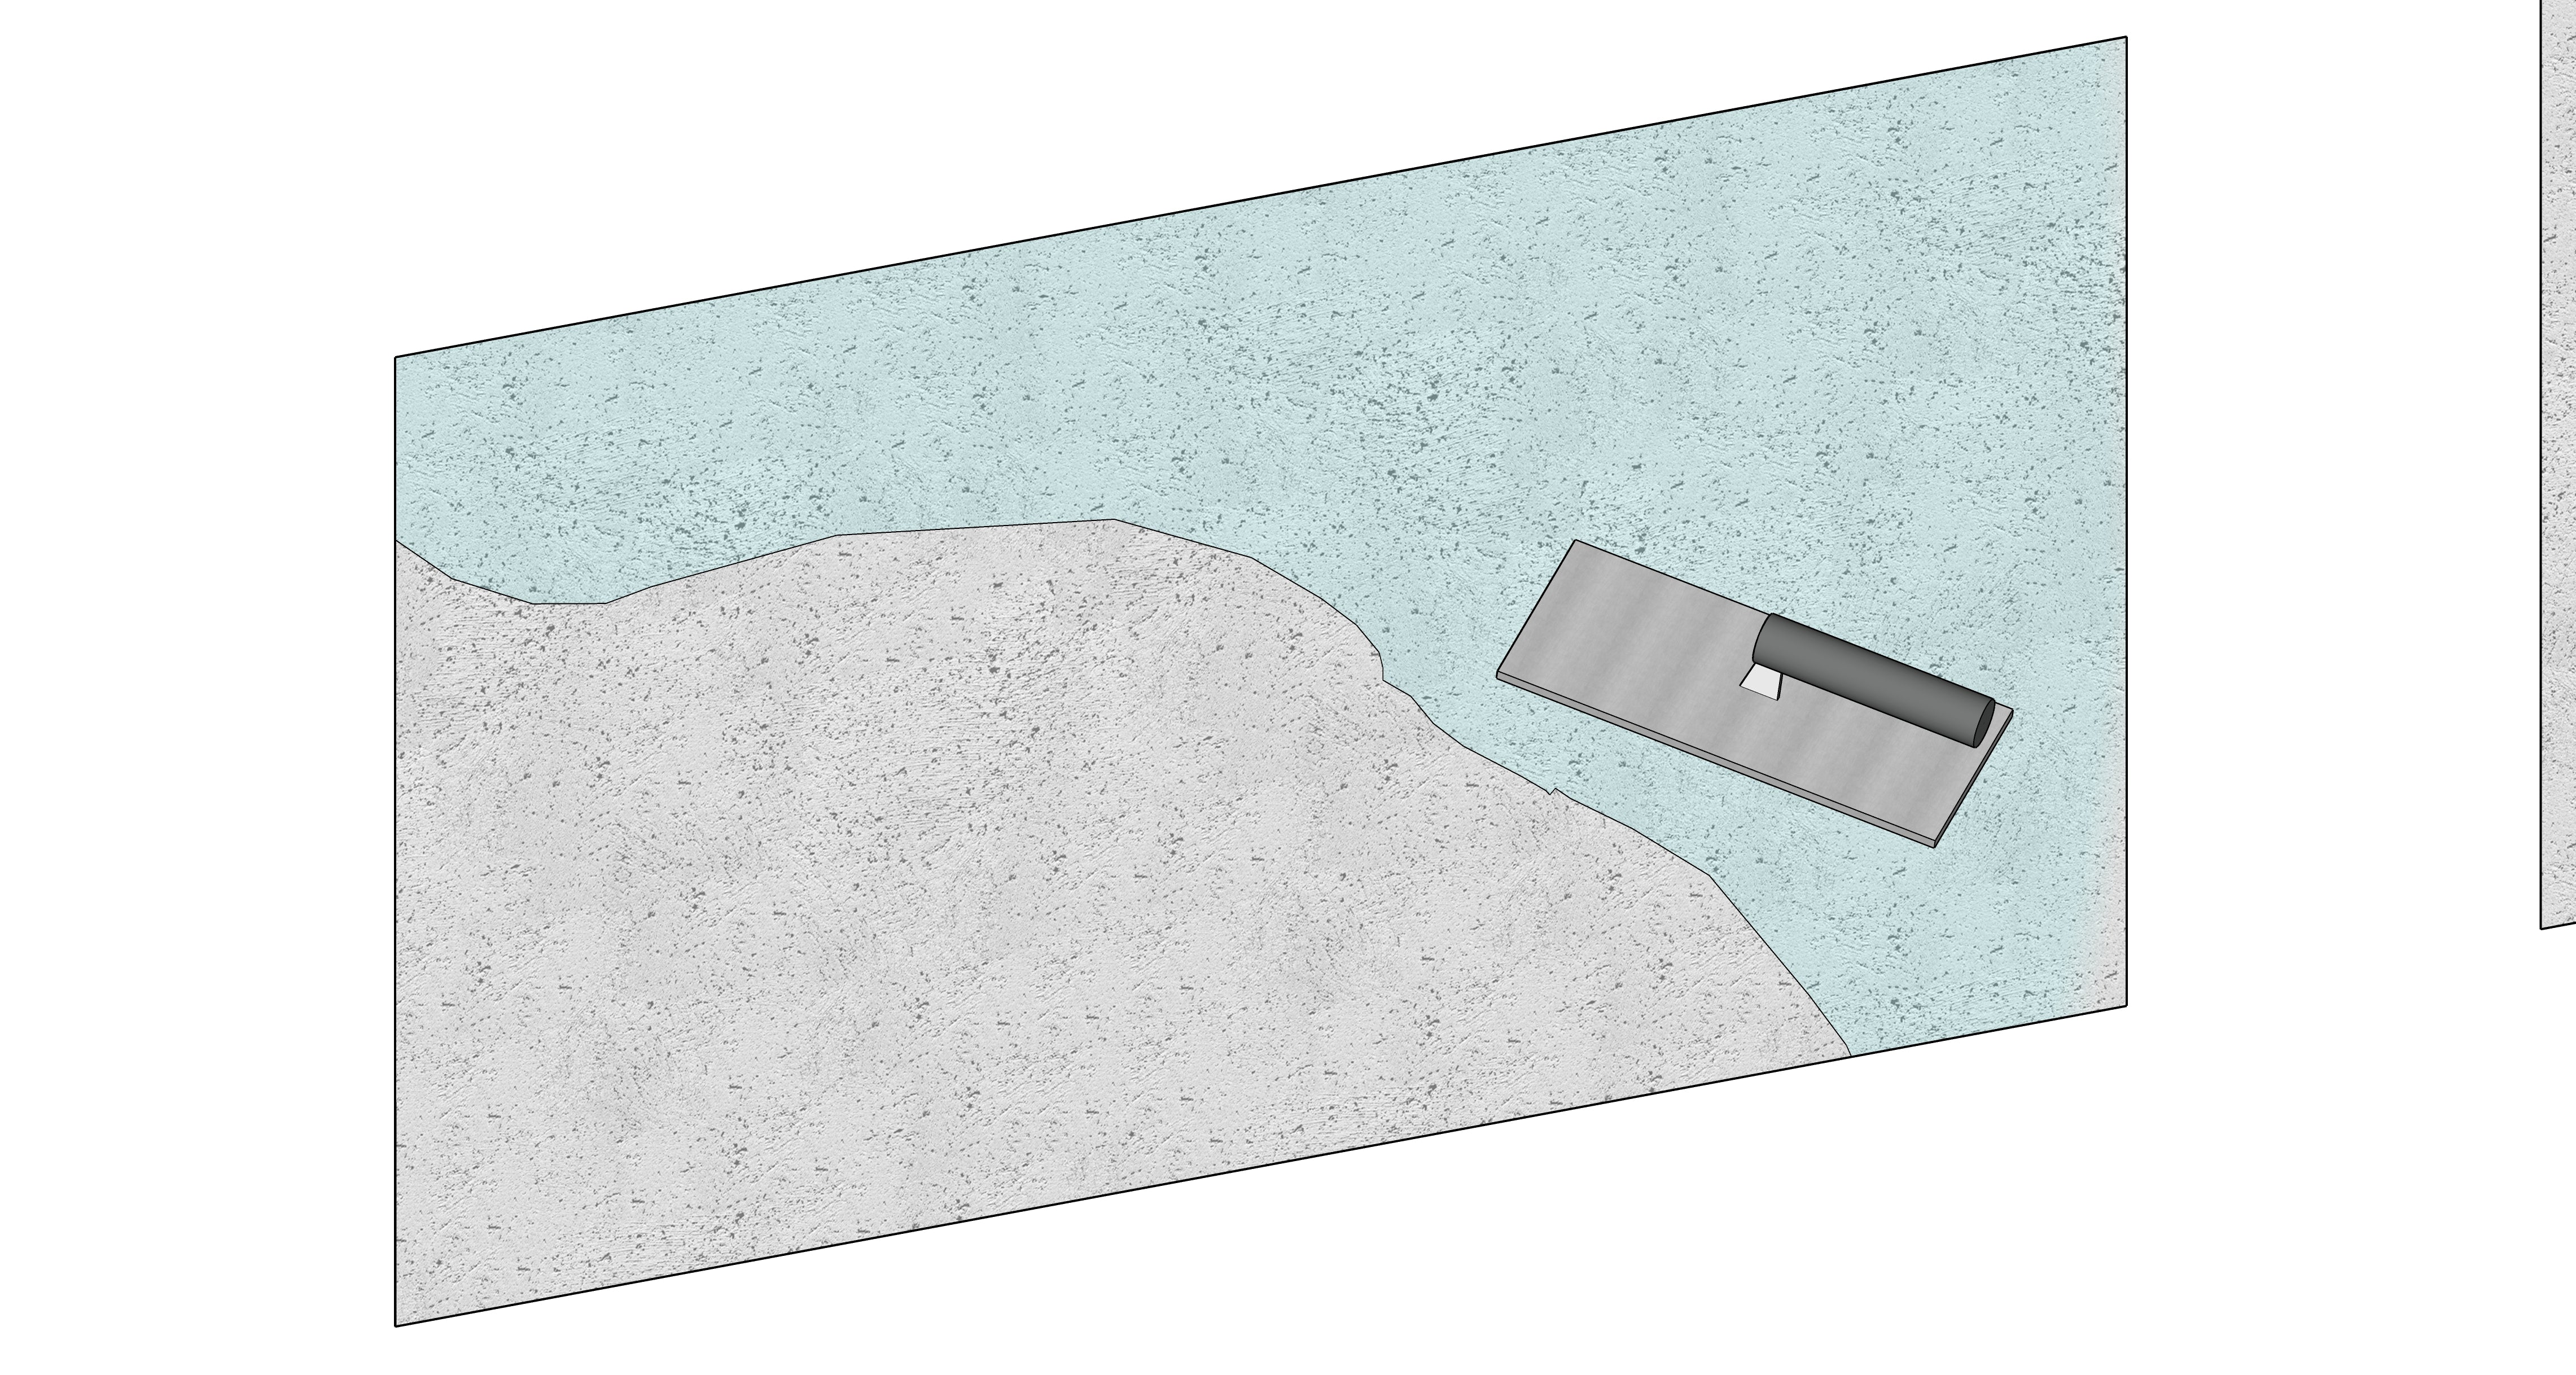
- Coat 3: Apply the final microcement layer to achieve a smooth, polished finish.
- Sealing: After the microcement has fully cured, apply the appropriate sealer to protect the surface and enhance its appearance.
For detailed application guidance, refer to our Microcement Over Wall Tiles Instructions.
Elevate your space with the contemporary elegance of polished concrete using our Microcement Tile Wall Kit—your solution for a seamless, stylish transformation.
HOW TO APPLY MICROCEMENT OVER WALL TILES
1

Apply Primer
2
Apply Microcement Coat 1
3
Embed Fibre
4
Apply Microcement Coat 2
5
Apply Microcement Coat 3
6
Sand Smooth
7
Seal
1
Apply Primer
2
Apply Microcement Coat 1
3
Embed Fibre
4
Apply Microcement Coat 2
5
Apply Microcement Coat 3
6
Sand Smooth
7
Seal
Have Questions?
We Have Answers.
Get quick answers to questions about microcement.
What is Microcement?
Microcement is a VERY thin layer of concrete which can be applied to many different surfaces. It is typically only a few millimetres thick and has a very smooth finish, giving the appearance of polished concrete to whatever it is applied to.
What can the Microcement be used for?
Microcement is extremely versatile and can be applied to many surfaces such as worktops, walls, floors, ceilings, furniture and tiles.
How hard is it to apply?
Microcement is a beginner-friendly DIY entry product and requires very few tools for application.
How do I apply the Microcement?
You prime the surface you are applying the microcement onto.
Then you mix up the microcement and apply it in 2 coats using a trowel or spatula.
Once its gone hard you sand it and then seal it.
That’s it!
Is microcement waterproof?
Yes. Our microcement is waterproof but it still needs to be sealed because without it, the microcement is still prone to staining.
See It In Action
Our customers love this product