


It's Not Rocket Science
Start At The Beginning
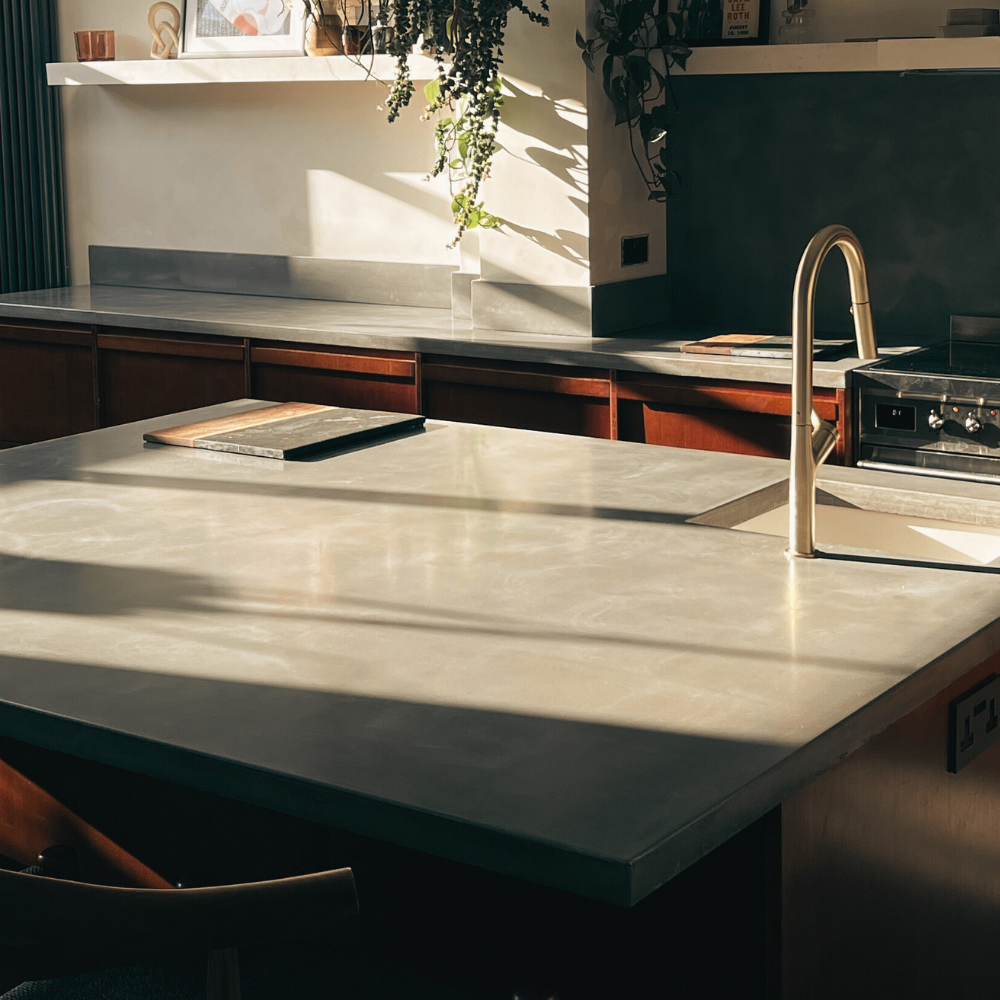
Below is our guide to making a basic PRECAST concrete worktop or concrete countertop using our GFRC Worktop Mix with a list of the items and ingredients you will need. A concrete mix for worktops you say? Yes! We've developed a mix especially for this purpose.
PLEASE NOTE - this guide is not for “in situ” or “cast-in-place” concrete countertops. We have a separate guide for this (to be uploaded soon) using our Cast-In-Place Mix.
Before you start your project we recommend that you read through this entire guide and arm yourself with as many of the tools as possible. Also dotted throughout the document we have listed handy HINTS which will be of use.
So lets begin and start with the location.