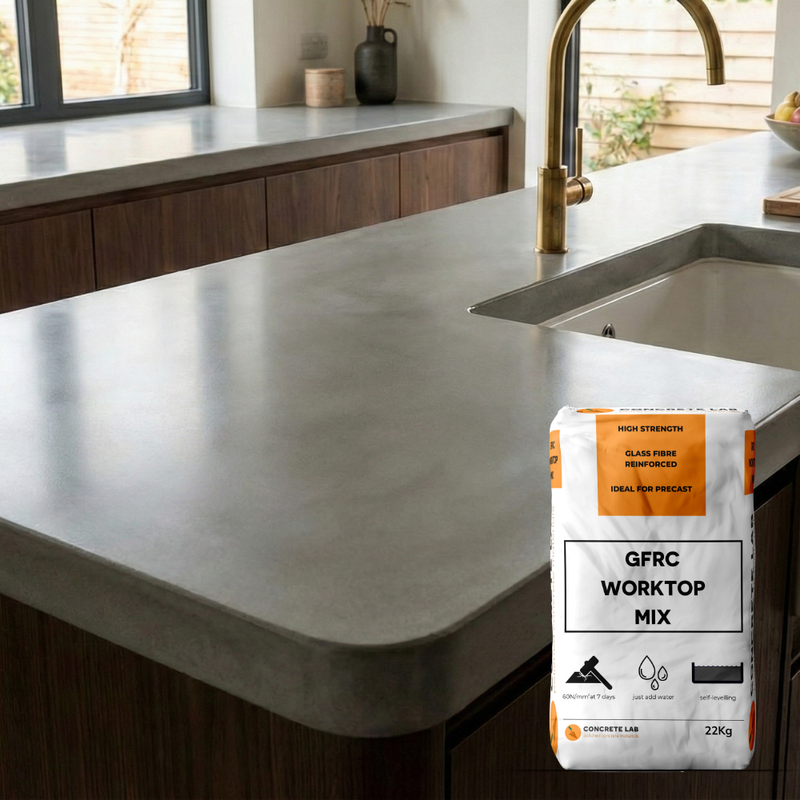
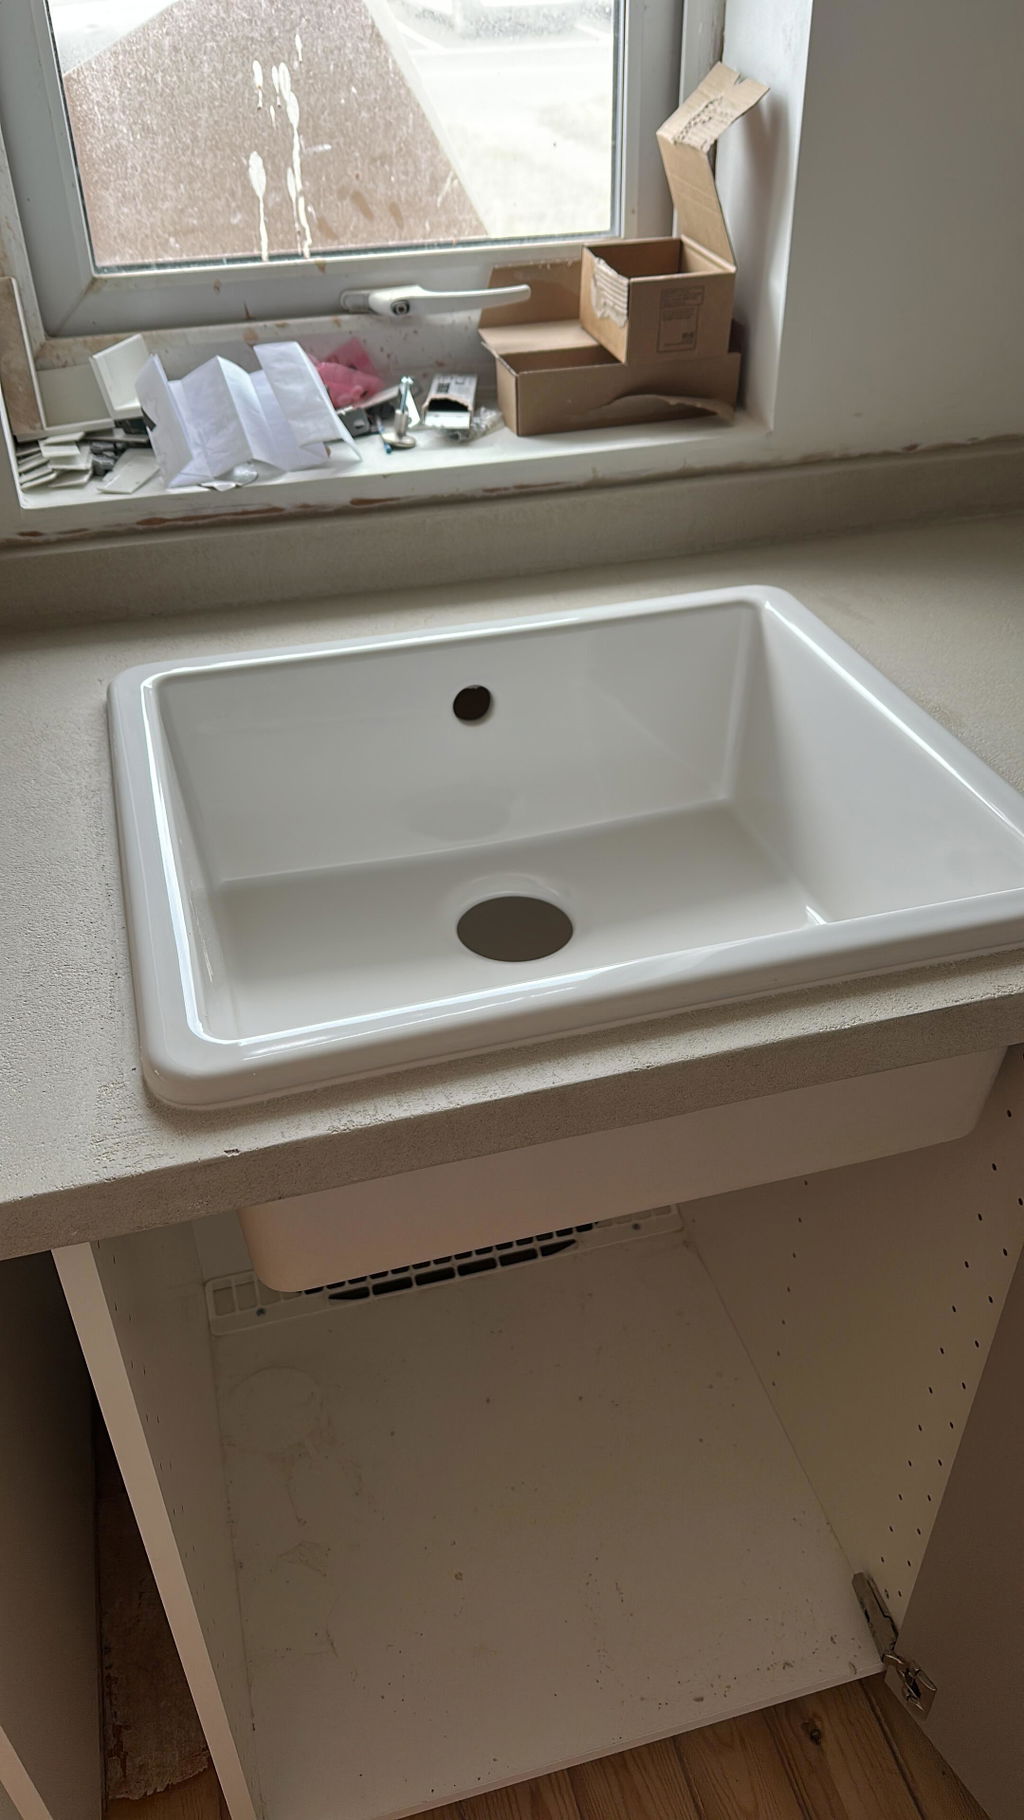
Six stages from empty mould to sealed worktop. Each one has a short video.
Build your mould
Build a simple mould from melamine-faced board. Precast is cast upside down, so the face of the mould becomes the top of your worktop. Coat it with Water-Based Mould Release Agent before you pour.
Pro tip
Any mark, seam or dent in the mould base will show on your finished worktop. Check it carefully before you pour.
Mix
Add water to the Precast Concrete Worktop Mix and mix with a paddle mixer until smooth and lump-free. No vibrating table needed.
Pro tip
Use the Precast Project Calculator to work out exactly what you need before you start mixing.
Pour
Pour the mix into your mould. It flows into corners and edges without special tools. Add the fibreglass reinforcement bars, then leave it to cure before you demould.
Pro tip
Don't rush the demould. Give it the full cure time in the instructions.
Etch, clean and sand
Once demoulded, apply Etch & Clean Solution to break down the weak surface layer left by the mould. Stop it with the Neutraliser, then sand with Diamond Hand Polishing Pads for a smooth, polished face.
Pro tip
Wear gloves and eye protection while you etch.
First seal, then fill
Roll on your first coat of Concrete Lab Sealer. Once it's dry, work the colour-matched Smoothing Paste into the surface to fill any pinholes, then wipe back the excess.
Pro tip
Sealer first, then paste. If you're following the video, put your first coat of sealer on before this step.
Final seal
Apply the remaining coats of Concrete Lab Sealer with a foam roller. It keeps your worktop stain-resistant and hard-wearing, and gives you a matt or satin finish.
Pro tip
Thin, even coats always beat one heavy one. Let each coat dry fully before the next.
Colour samples arrived quickly and were big enough for us to be able to make an informed choice which was great!
Concrete Lab
09/17/2026
Thomas Hayes
Sample selection
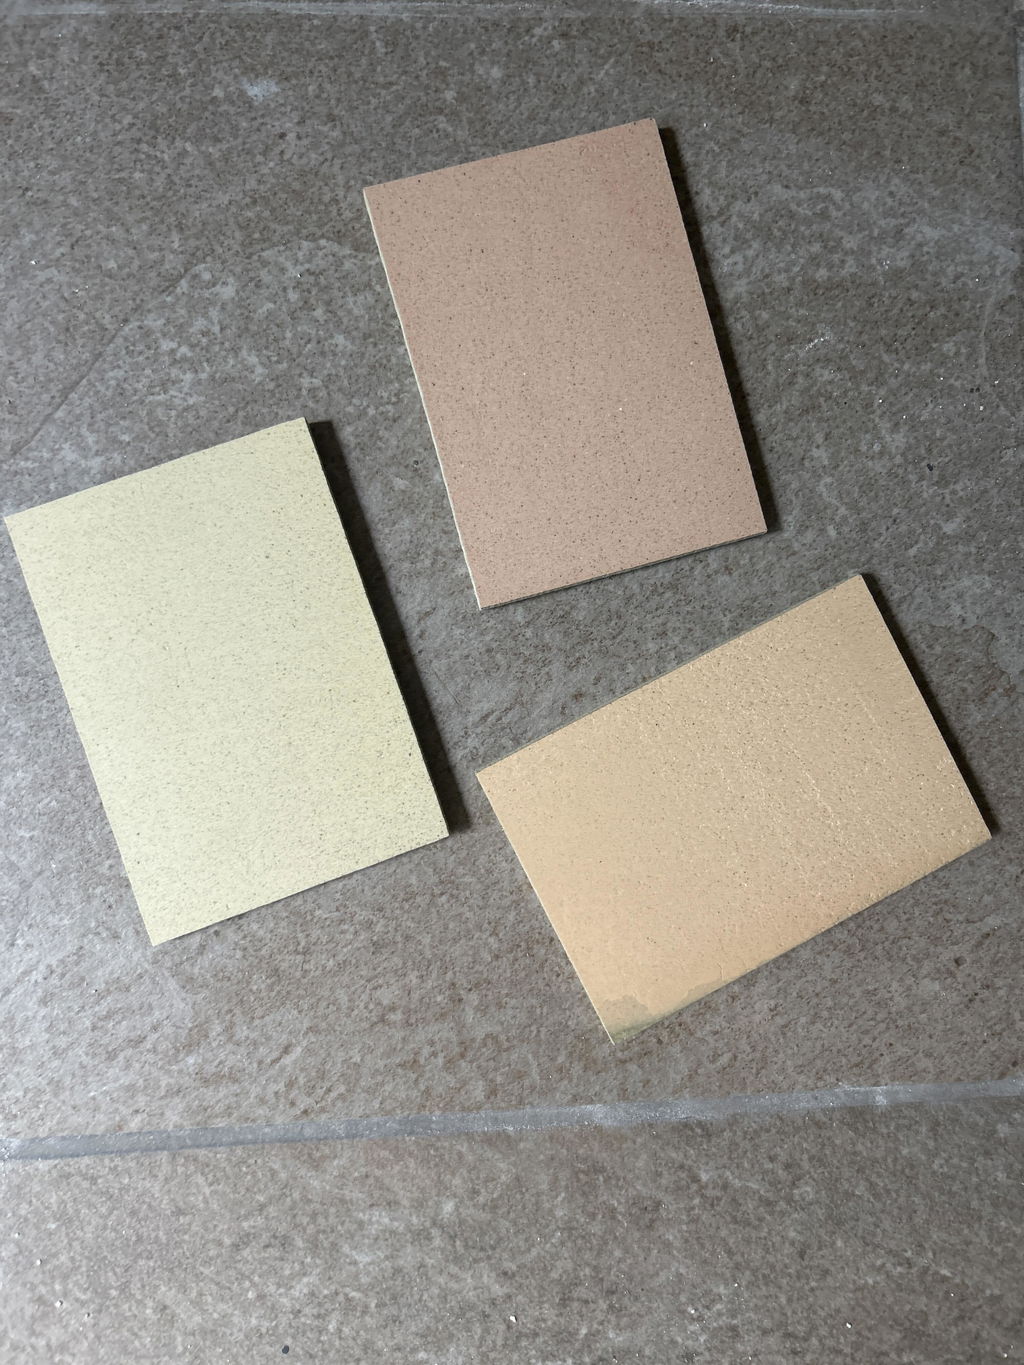
Requested a sample wall selection which I highly recommend if there is any doubt on what colour you’re after.
Arrived after only a few days and helped us decided which colour we would go with.
Microcement Colour Samples
09/13/2026
Conrad Seaman
Excellent
Excellent quick delivery and easy following instructions on how to use.. utterly brilliant thank you
Microcement Polished Concrete
09/12/2026
Catrin Sinclair
Love love love it
Love love love it. Excellent quality.
Microcement Polished Concrete
09/07/2026
Shaun legg
Microcement
Great product and very easy to use. I used the 5m2 kit to do a tv wall and the m2 it says it covers is very accurate and they send the right amount of everything
Concrete Lab Sealer
08/09/2026
pamela Glynn
Microcement
Brilliant Solution to Cover existing times!
Microcement Colour Samples
08/07/2026
Sara Townley
Quick & simple
Great to receive the samples so quickly after placing our order. So helpful to view the colours in the space.
Concrete Lab
08/05/2026
Sara Townley
Quick & Simple
Great to be able to see samples in real life. Fast postage and communication from the team.
Microcement Colour Samples
08/05/2026
Rachael Rand
The sample tiles were perfect for being able to get a proper visual
The sample tiles were perfect for being able to get a proper visual of the colour against my bathroom floor tiles, rather than other companies have sent a swatch colour guide which are small and all colours next to one another.
Microcement Colour Samples
08/05/2026
Anonymous
Great samples
Samples arrived really quickly and were very good quality. Was very pleased we ordered them as we chose a different colour to the one we thought we would go for. Will be ordering a kit very soon.
Microcement Colour Samples
08/01/2026
Robert Maley
Easy purchase
Sample were ordered and arrived promptly ready to be pondered for a final floor covering
Microcement Colour Samples
07/31/2026
Becki
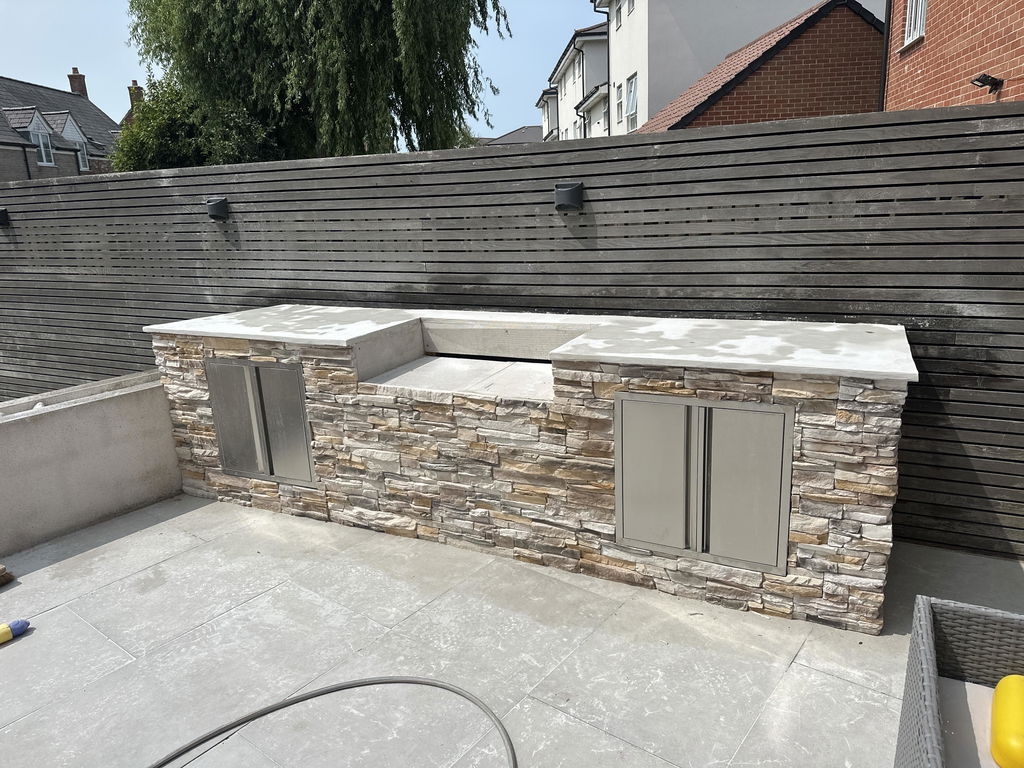
Fantastic product. Delivery was quick. Loads of information online to help with installation along with great customer care when we had to call with questions. Everyone was more than happy to help and advise. Highly recommend the bbq worktop looks amazing.
Concrete Lab
07/31/2026
Monika Rzeszut
Great
Quick delivery and easy to shop
Microcement Polished Concrete
07/23/2026
Monika Rzeszut
Great
Great,no issues with order
Concrete Lab Sealer
07/22/2026
Mr k j dullehan
Love it
It looks amazing on my outdoor bbq!
Microcement Polished Concrete
07/21/2026
What customers think about the store
This store offers microcement and concrete products with comprehensive video tutorials and helpful customer service. Customers praise quick delivery, easy-to-use kits, and professional results. Sample packs arrive promptly, helping customers make informed colo...This store offers microcement and concrete products with comprehensive video tutorials and helpful customer service. Customers praise quick delivery, easy-to-use kits, and professional results. Sample packs arrive promptly, helping customers make informed color choices. The team provides responsive support throughout projects, though occasional delivery issues occur.
Precast is cast upside down in a mould off-site, in a garage or workshop, then flipped and fitted. It can be as thin as 18mm. Cast-In-Place is poured the right way up, in position, onto cement board that stays as part of the worktop, and we recommend a 30mm core.
It depends on the size and thickness of your worktop. Enter your dimensions in the Precast Project Calculator and it gives you a full materials list. If you'd rather talk it through, give us a call and we'll work it out with you.
No. The mix is designed for confident DIYers with no concrete experience. Every stage has a step-by-step video, and our team is on hand by phone and email if you get stuck.
Melamine-faced board and silicone to build your mould, Water-Based Mould Release Agent, fibreglass reinforcement bars, the Processing Kit (Etch & Clean, Neutraliser and Smoothing Paste), Diamond Hand Polishing Pads and Concrete Lab Sealer. Everything except the mould materials is on this page, and the calculator lists exactly what your project needs.
Yes. Our Precast kits come in Small, Medium and Large, covering 1 to 3m², so you can order your project in one go.
Yes. The mix is suitable for indoor and outdoor worktops, including outdoor kitchens.
The concrete is waterproof and heat-resistant in itself; the sealer keeps it stain-resistant and hard-wearing. As with stone, use a trivet for very hot pans and wipe up spills promptly.
If you're unsure on colour, yes. Our Cast Concrete Colour Sample Pack shows you the real colours in your own light before you commit to a full pour.
Orders are dispatched on a next-day courier service across the UK, and delivery is free on orders over £250.
Still not sure? We're happy to talk you through it.