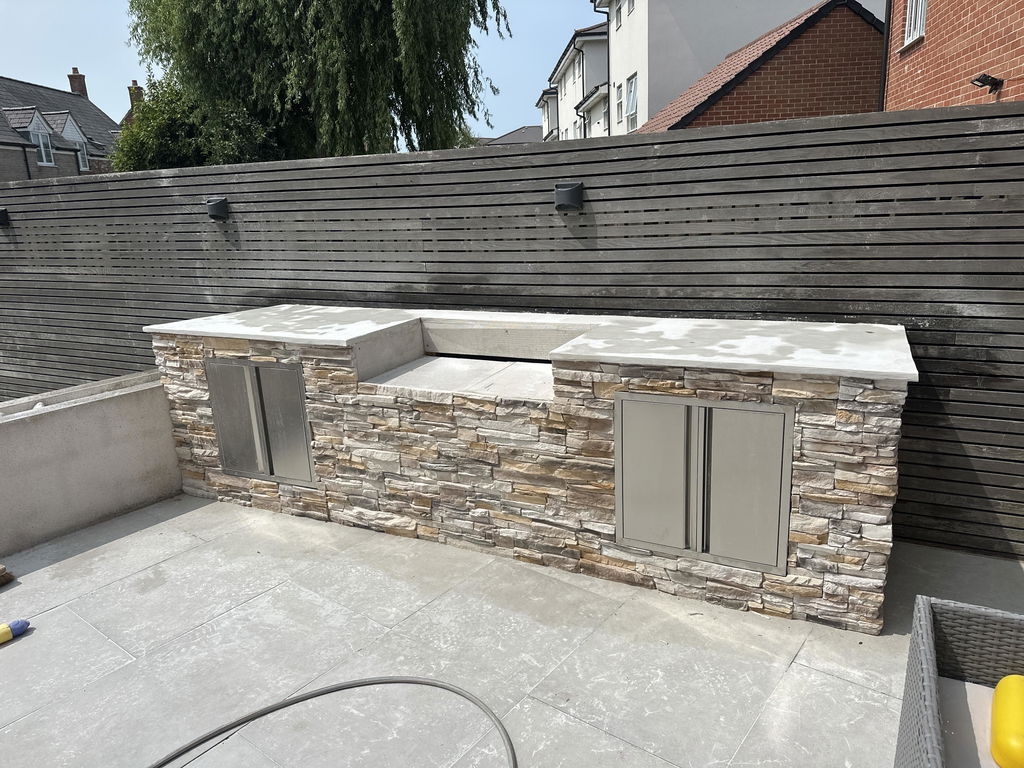
DIY Outdoor Microcement Worktops
Turn any wall into a seamless concrete finish — no demolition, no heavy lifting.
- UV and weather-resistant for outdoor kitchens
- Tough, low-maintenance surface for real BBQ use
- Transform your outdoor space with our simple system
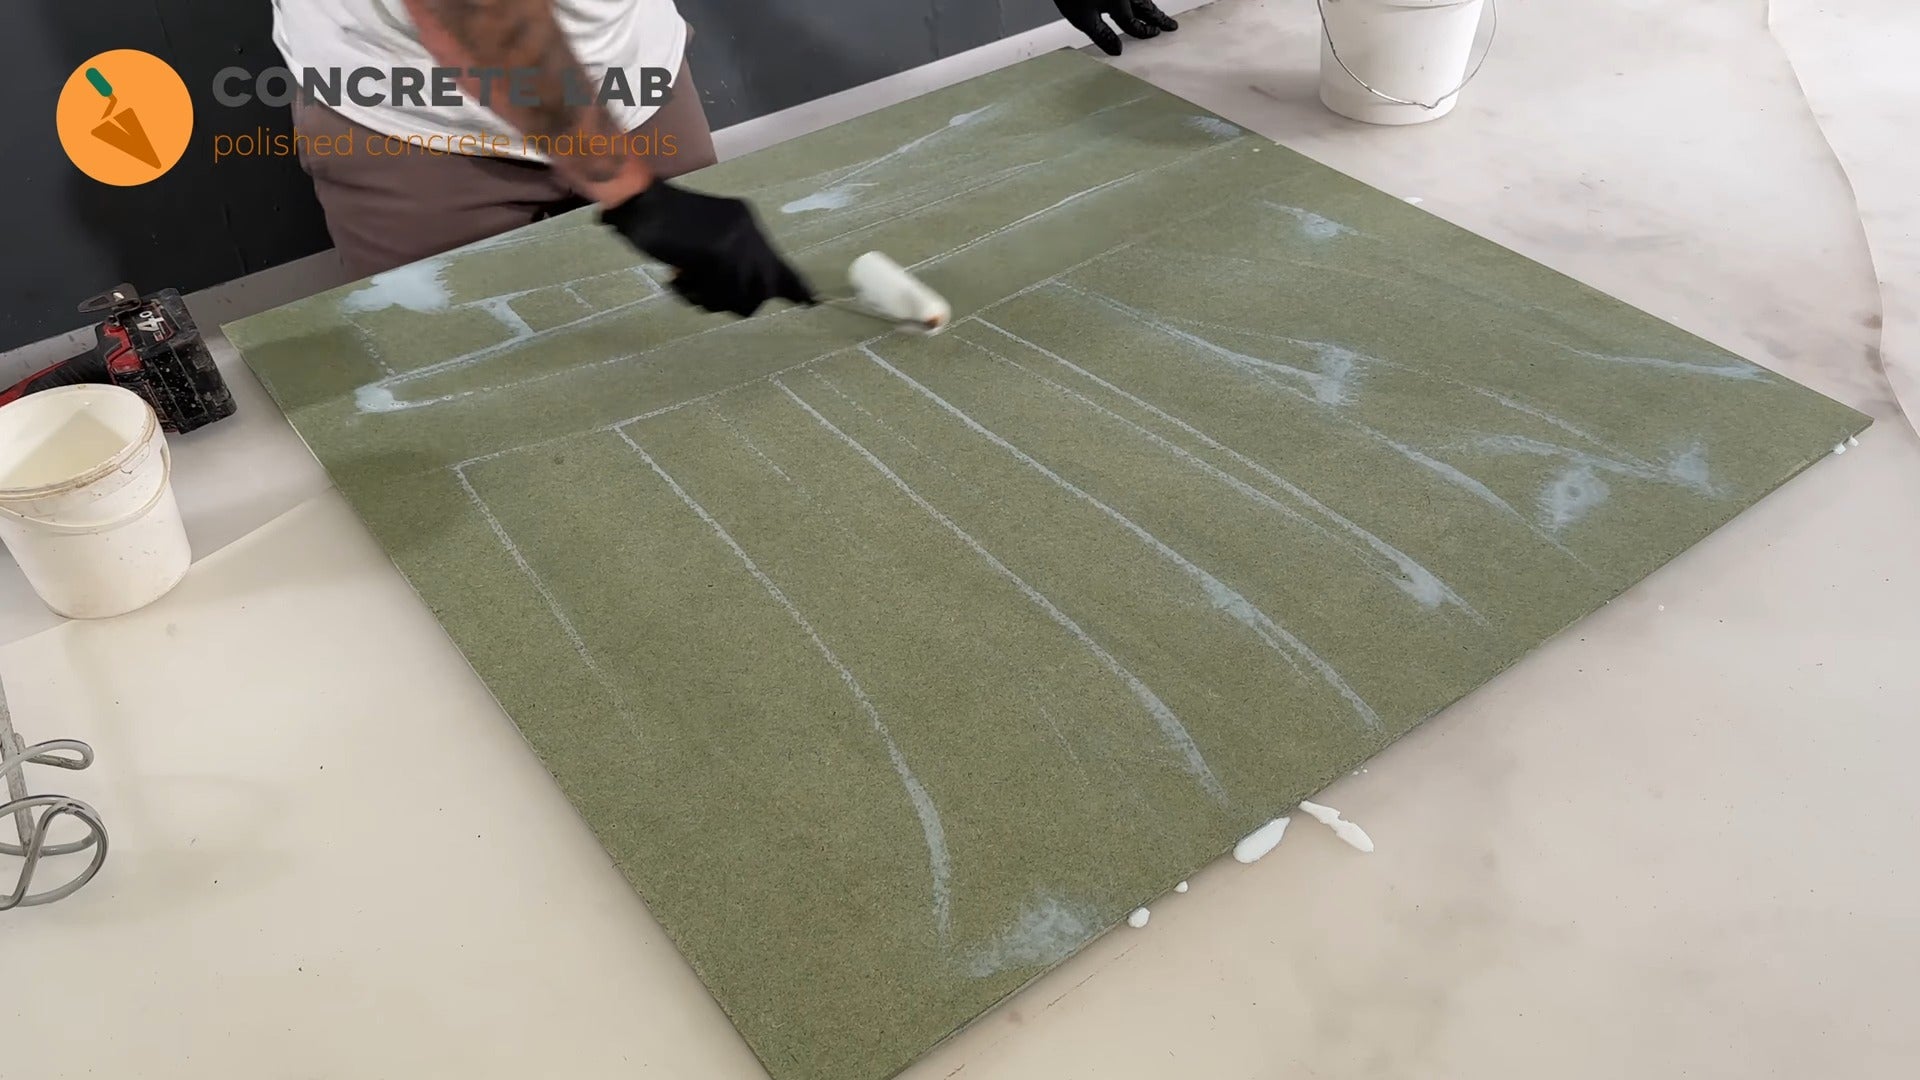
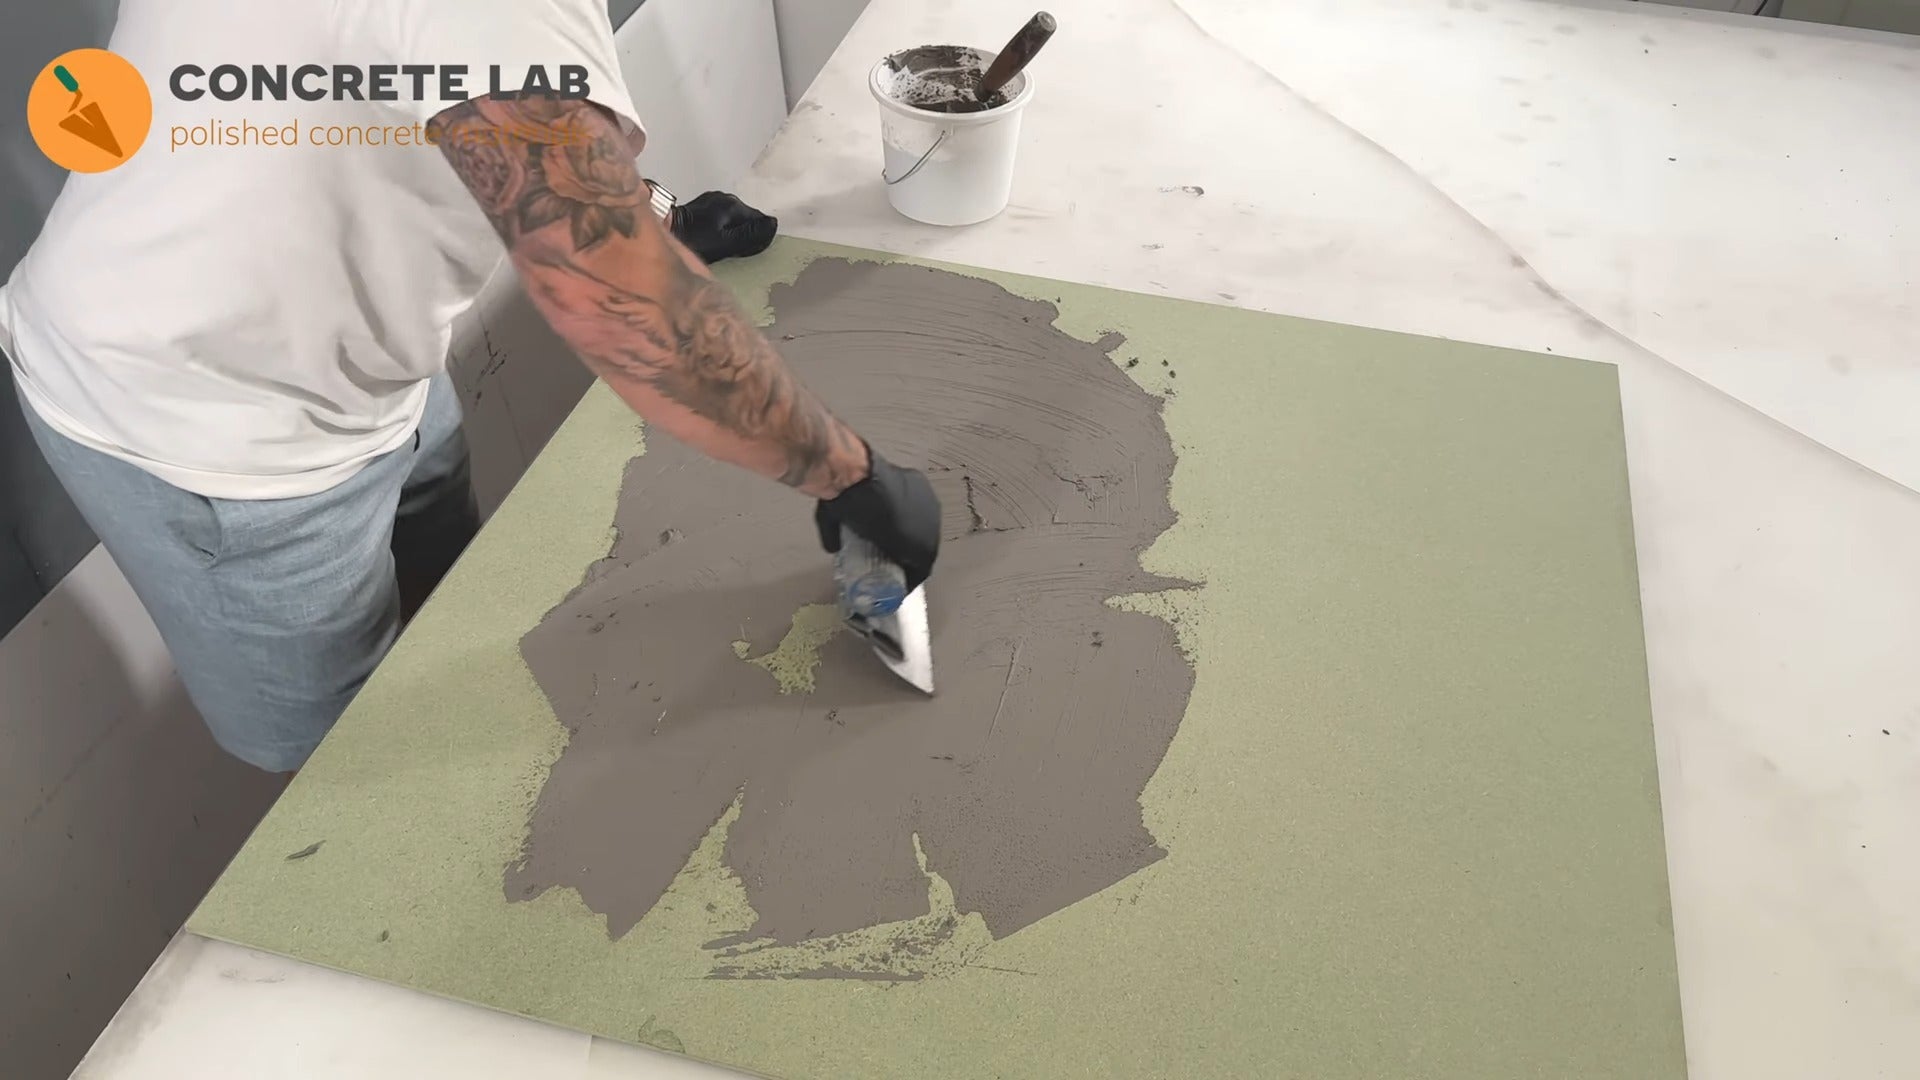
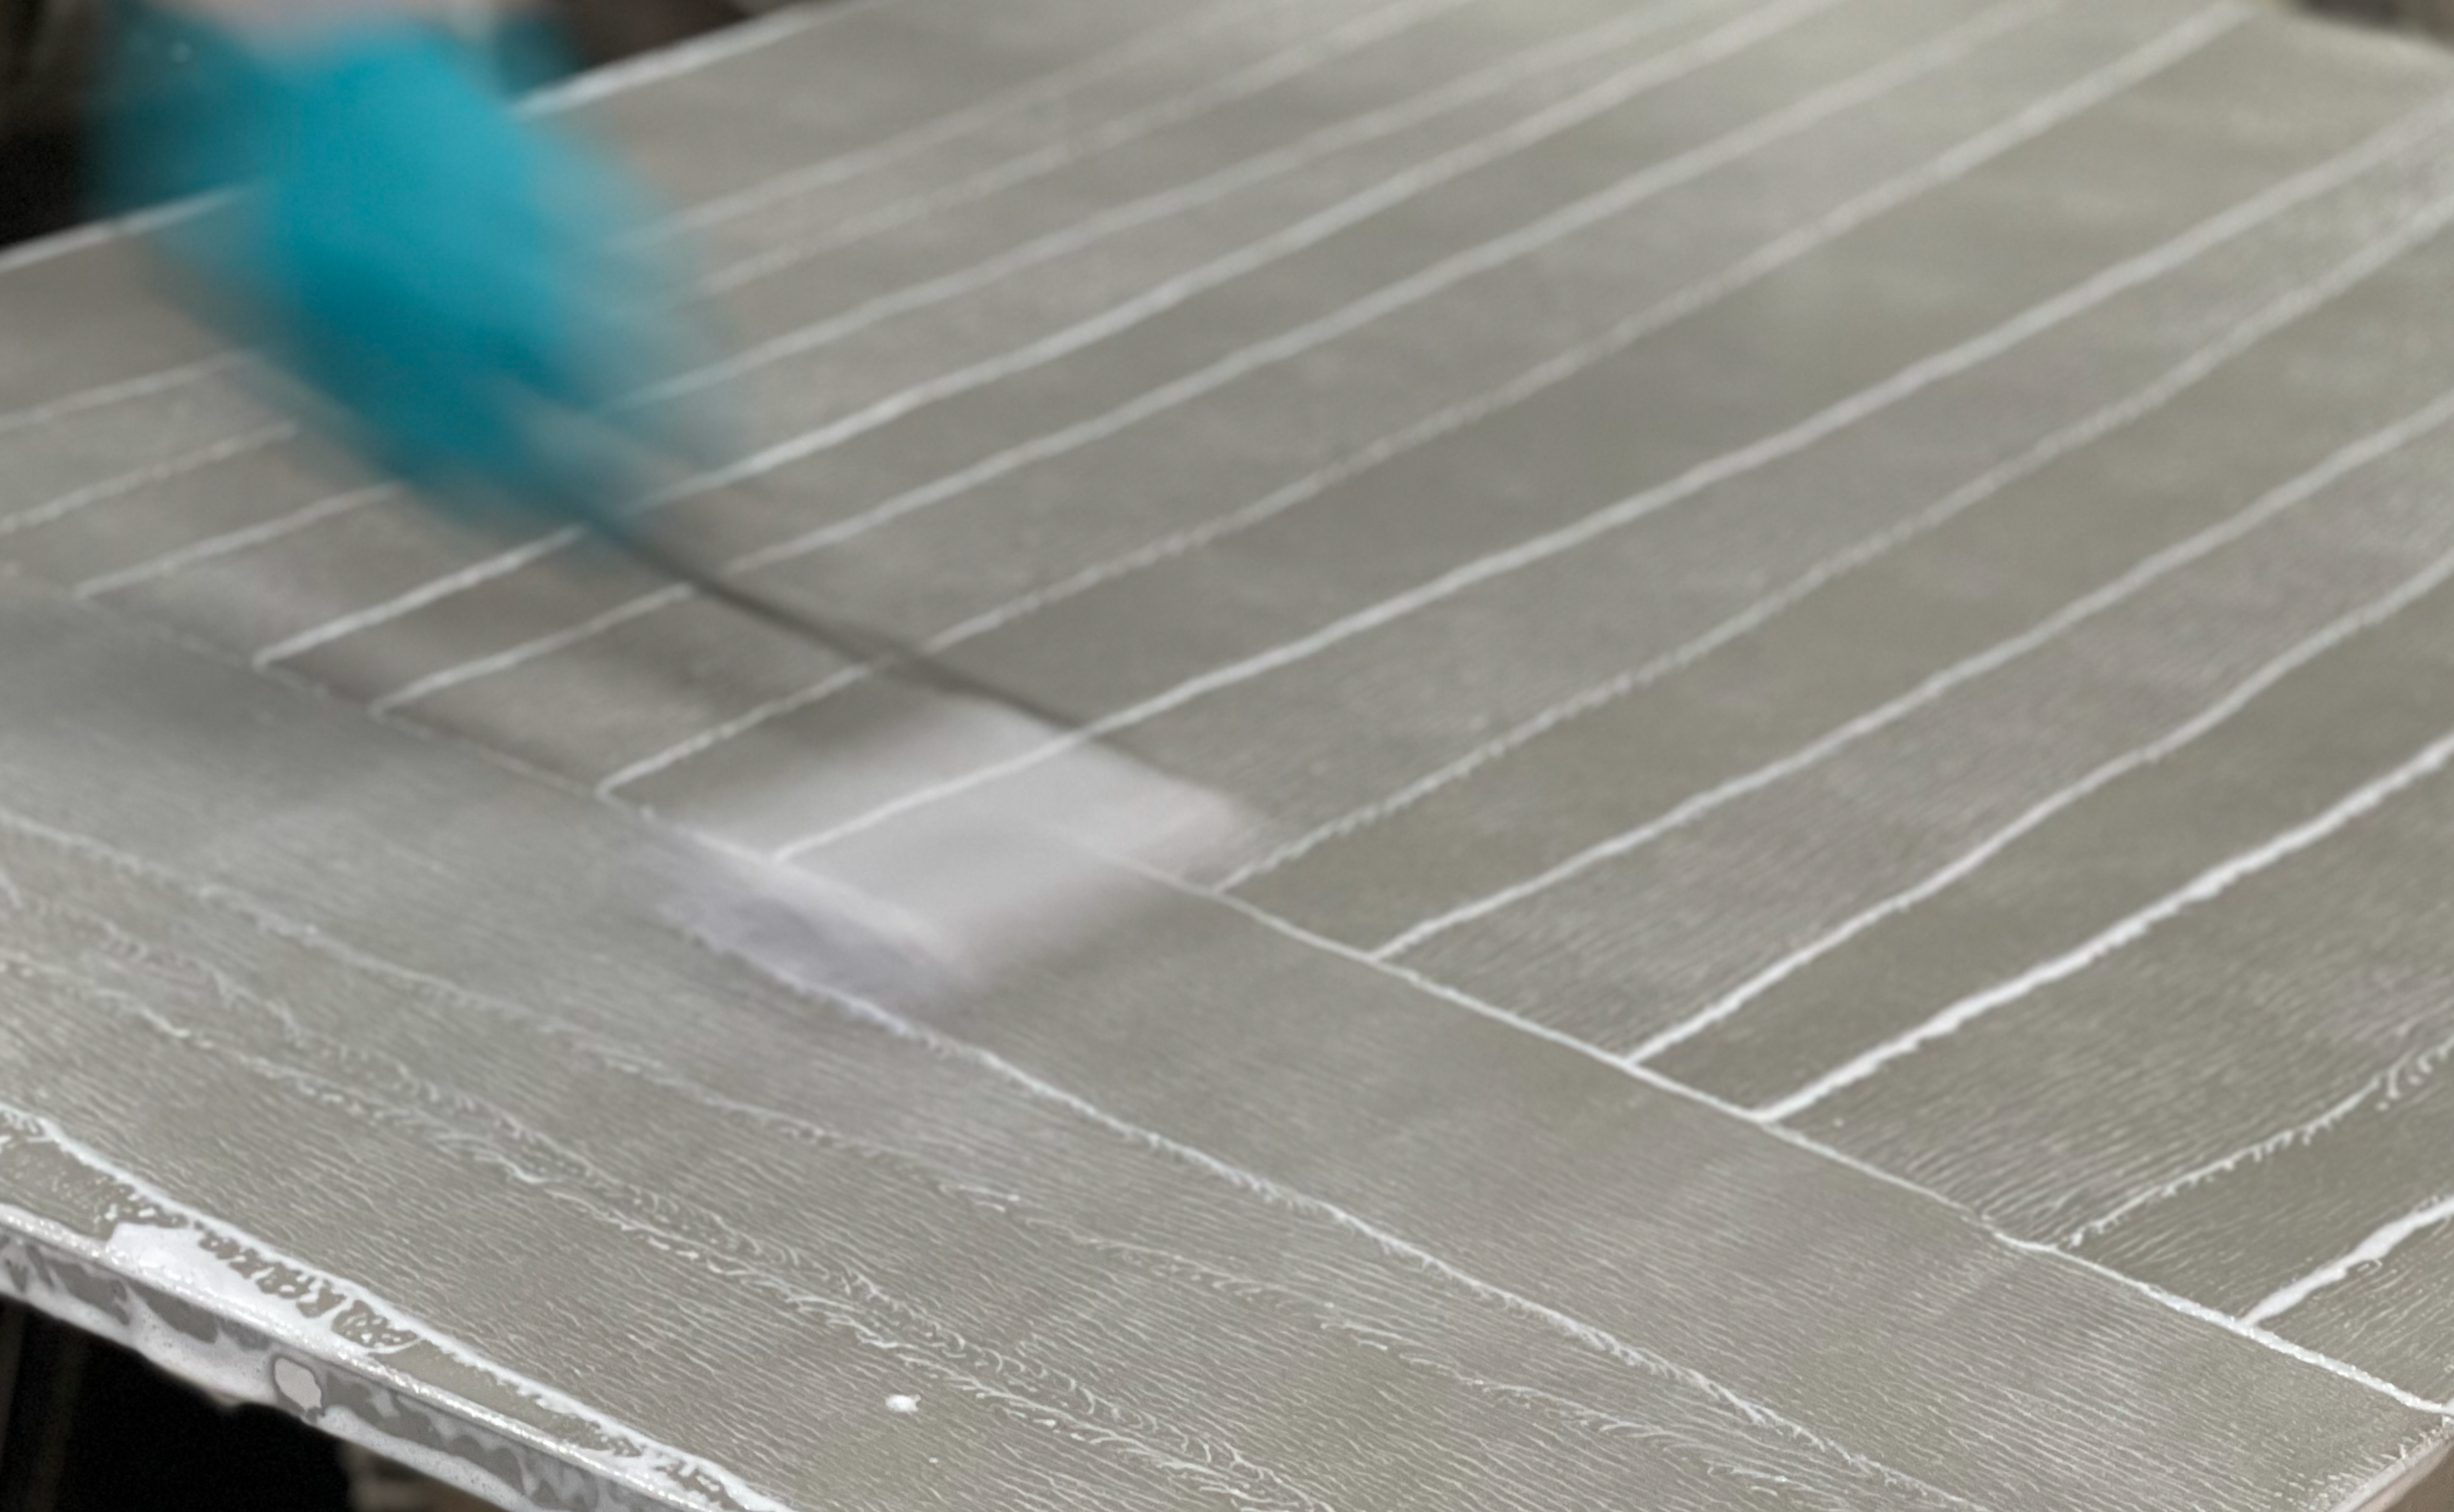
- DIY-friendly installation