


Microcement Wall Tile Kit
Walls that look like a luxury renovation — without the disruption
Cover tired wall tiles with a seamless concrete finish — no removal, no mess, no tradespeople needed.
-
A kitchen or bathroom that looks like a luxury renovation — for a fraction of the costProfessionally installed microcement wall finishes cost thousands. This is the same result, made by you.
-
A finish that stops people in their tracks — and makes them ask who did it
-
No tile removal, no mess, no weeks of building workGoes straight over existing tiles. Your kitchen or bathroom is back in use by Monday.
-
A water-resistant, easy-clean surface built for wet roomsWater-resistant and stain-resistant once sealed — suitable for bathrooms, kitchens and shower enclosures.
11 colours. One that's right for your kitchen.
From cool greys to warm buffs, terracotta and beyond — each colour is available in both 5sqm and 10sqm kit sizes. Select your colour from the variant picker above.
Not sure which colour? Order a sample first.
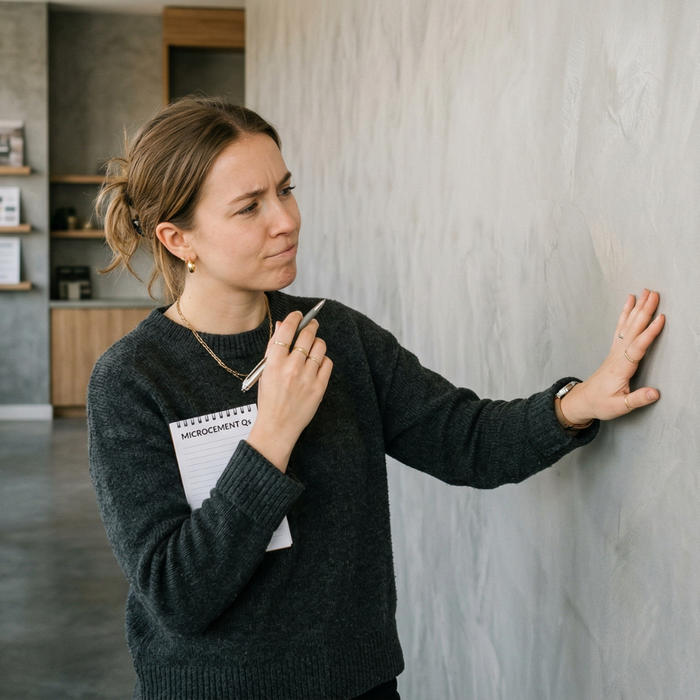
Screens can't show you the real texture and tone. Physical samples are hand-applied, sealed and waxed — the real product, in your own light.

Built for the DIYer who wants a result, not a project
Transform Any Wall With a Seamless Luxury Finish
Seamless coating in 11 colours — bonds directly over ceramic and porcelain wall tiles without removal.
No Tile Removal — Goes Straight Over Existing Tiles
At just 2–3mm thick, applies directly over your existing tiles — no adhesive removal, no skip, no structural work.
Water-Resistant and Built for Wet Rooms
Hard-wearing and stain-resistant when sealed — suitable for bathroom walls, kitchen splashbacks and shower enclosures.
No Specialist Needed — Just Follow the System
Concentrated primer, fibreglass mesh tape, pre-dosed microcement and sealer. Everything measured, everything included.
What our customers have made
From bare worktop to finished surface — in a weekend
No specialist tools. No trade experience. Just follow the system.

Prepare your tiles
Clean your existing tiles thoroughly — they must be grease-free, dry and firmly fixed. Sand any glazed surfaces lightly to key them. Apply the concentrated primer diluted to the correct ratio — this creates the bond between the tile surface and the microcement.

Apply microcement coat 1 and embed the mesh.
Apply the first microcement coat and embed the fibreglass mesh as you go. The mesh bridges the grout lines and prevents them from telegraphing through the finished surface.

Apply microcement coats 2 and 3
Mix your pre-dosed resin and dye together, then blend into the microcement powder. Trowel on in thin, even passes — two coats builds the colour depth and texture. Sand and re-prime between coats.

Seal and protect
Once the final coat is fully dry and sanded smooth, apply the Concrete Lab Sealer in three thin coats using a foam roller. The sealer locks the surface, makes it water and stain resistant, and gives you either a matt or satin finish.
Everything you need. Nothing you don't.
One kit. Every component pre-selected and pre-dosed for your surface type.

Not sure which size? Measure your worktop area in m² and add 15% for edges and waste.
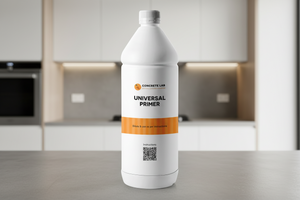
Concentrated Universal Primer
Dilute and apply to your existing tiles before anything else. Creates the chemical bond between the tile surface and the microcement.
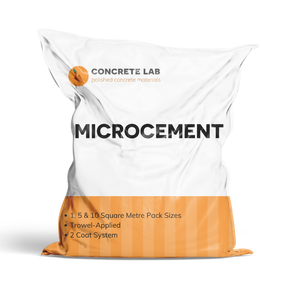
Microcement Powder
A precisely formulated cement-based powder that delivers the polished concrete texture and depth of colour.
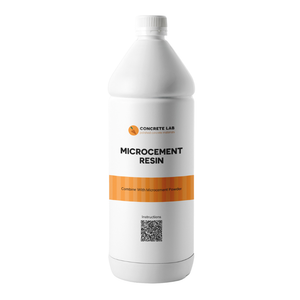
Pre-Dosed Resin
Mixed with the dye and blended into the powder before application. The resin gives the microcement its flexibility, adhesion and durability — pre-dosed so there's no measuring required.
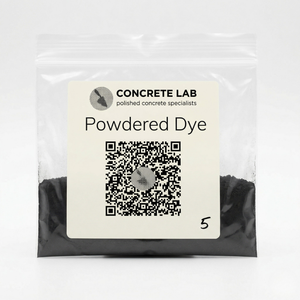
Pre-Dosed Dye Pack
Your chosen colour, pre-measured for your kit size. Mix with the resin before blending into the powder. Consistent colour every time — no guesswork, no waste.

Fibreglass Mesh Roll
Applied over all grout lines, joints and corners before the first coat. Bridges the grout lines and prevents them from showing through the finished surface.
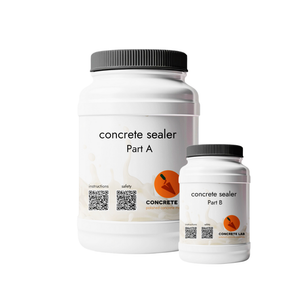
Concrete Lab Sealer
Applied over the finished microcement to create a water-resistant, stain-resistant surface. Available in matt or satin finish.
Everything you need to know before you order
Our microcement bonds directly to most solid, structurally sound substrates — including laminate worktops, hardwood plywood, moisture-resistant MDF, existing concrete, quartz, marble and granite. The surface must be clean, dry and stable before you begin. Full substrate guidance is included in your kit.
No. The kit is designed specifically for confident DIYers with no prior microcement experience. The pre-dosed components remove all the measuring and mixing guesswork. Follow the step-by-step video guides included with your order and you'll achieve a professional finish. First-timers complete this every weekend.
Most indoor worktop projects are completable over a weekend — typically 1 to 2 days including drying time between coats. Day 1 covers primer, mesh tape and the first microcement coat. Day 2 covers the second coat and sealer. You'll need to allow the sealer to cure fully before putting the worktop back into heavy use.
Yes — once the Concrete Lab Sealer has fully cured, the surface is food-safe and suitable for food preparation. The sealer creates a hard, non-porous barrier that is water-resistant, stain-resistant and easy to clean. As with any sealed surface, avoid prolonged contact with acidic liquids and use a chopping board for cutting.
Both systems use the same microcement formula. The 2-coat kit includes two powder packs, two resin bottles and two dye packs — this is sufficient for most worktop applications and gives excellent colour depth and durability. The 3-coat kit adds a third layer, which gives a slightly richer, more layered finish and extra material for larger or more complex surfaces. If in doubt, the 2-coat system is the right choice for a standard kitchen worktop.
Most application issues can be corrected before the sealer is applied — microcement is workable right up until it's sealed. Our support team is available by phone and email throughout your project. If there's a fault with the product itself, we'll replace it immediately, no questions asked.
Yes — we'd always recommend it. Screens show you a colour; a physical sample shows you the colour, texture, sheen and how it reads in your own light. Our colour samples are hand-applied, sealed and waxed — the real product on a real substrate. They're £2–£4 each and could save you ordering the wrong colour for a full kit.
Still not sure? We're happy to talk you through it.
Our Guarantee
-
Faulty product? We replace it immediately No lengthy process. If something isn't right with the product, we sort it — no questions asked.
-
Returns accepted on unused, unopened items Changed your mind before you start? We'll accept the return — see our full returns policy for details.
-
Order a sample first — and you should Screens can't show you the real texture and tone. Our physical colour samples are £2–£4 and take the guesswork out of choosing your colour.
We've Got You Every Step of the Way
-
Phone & email support — real people, real answers Talk to someone who knows the product and can walk you through any issue — before, during or after your project.
-
Full video guide library included with every order Step-by-step video tutorials covering every stage — primer through to final seal. Watch once, refer back whenever you need.
-
Written guides for every substrate and scenario Laminate worktop? Wood? Existing concrete? There's a specific preparation guide for your substrate included in your order.
"We can't lay it for you — but we'll never leave you stuck."