A wall finish unlike anything else.
-
Completely unique — no two walls are ever the same
-
2-3mm thin — bonds directly over existing surfaces, no loss of space
-
Lots of colour, any texture — 11 colours, matte to satin
-
A fraction of the pro price — professional installs run £150–£400+ per m²
Made by people just like you.
How it works
Three steps to a stunning wall finish.
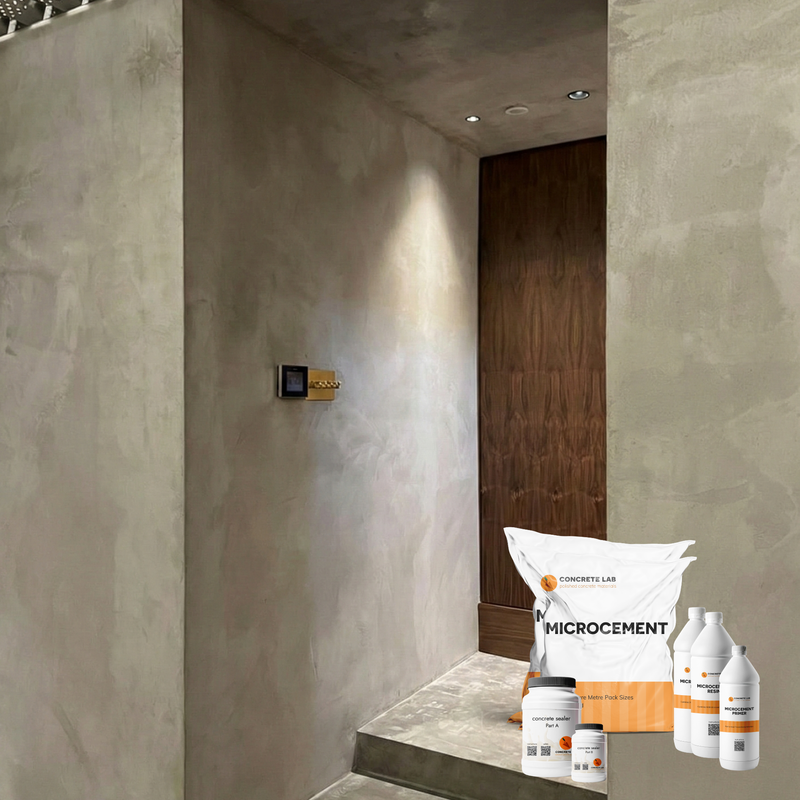
How to apply microcement to walls
Works over plaster, plasterboard and plywood. No demolition needed.

Prep
Clean your surface and apply a bonding primer. Works over plaster, plasterboard and plywood — no removal, no building work. Full prep guidance included with every kit.

Apply
Mix your microcement and trowel on two thin coats, allowing a full drying window between each. Sand each coat. Work in sections and keep a wet edge — thin, even passes will always beat one thick coat.

Seal
Apply three coats of sealer using a foam roller. This locks the surface, makes it waterproof and wipe-clean, and gives you your chosen finish — matte or satin. Allow to cure fully before use.
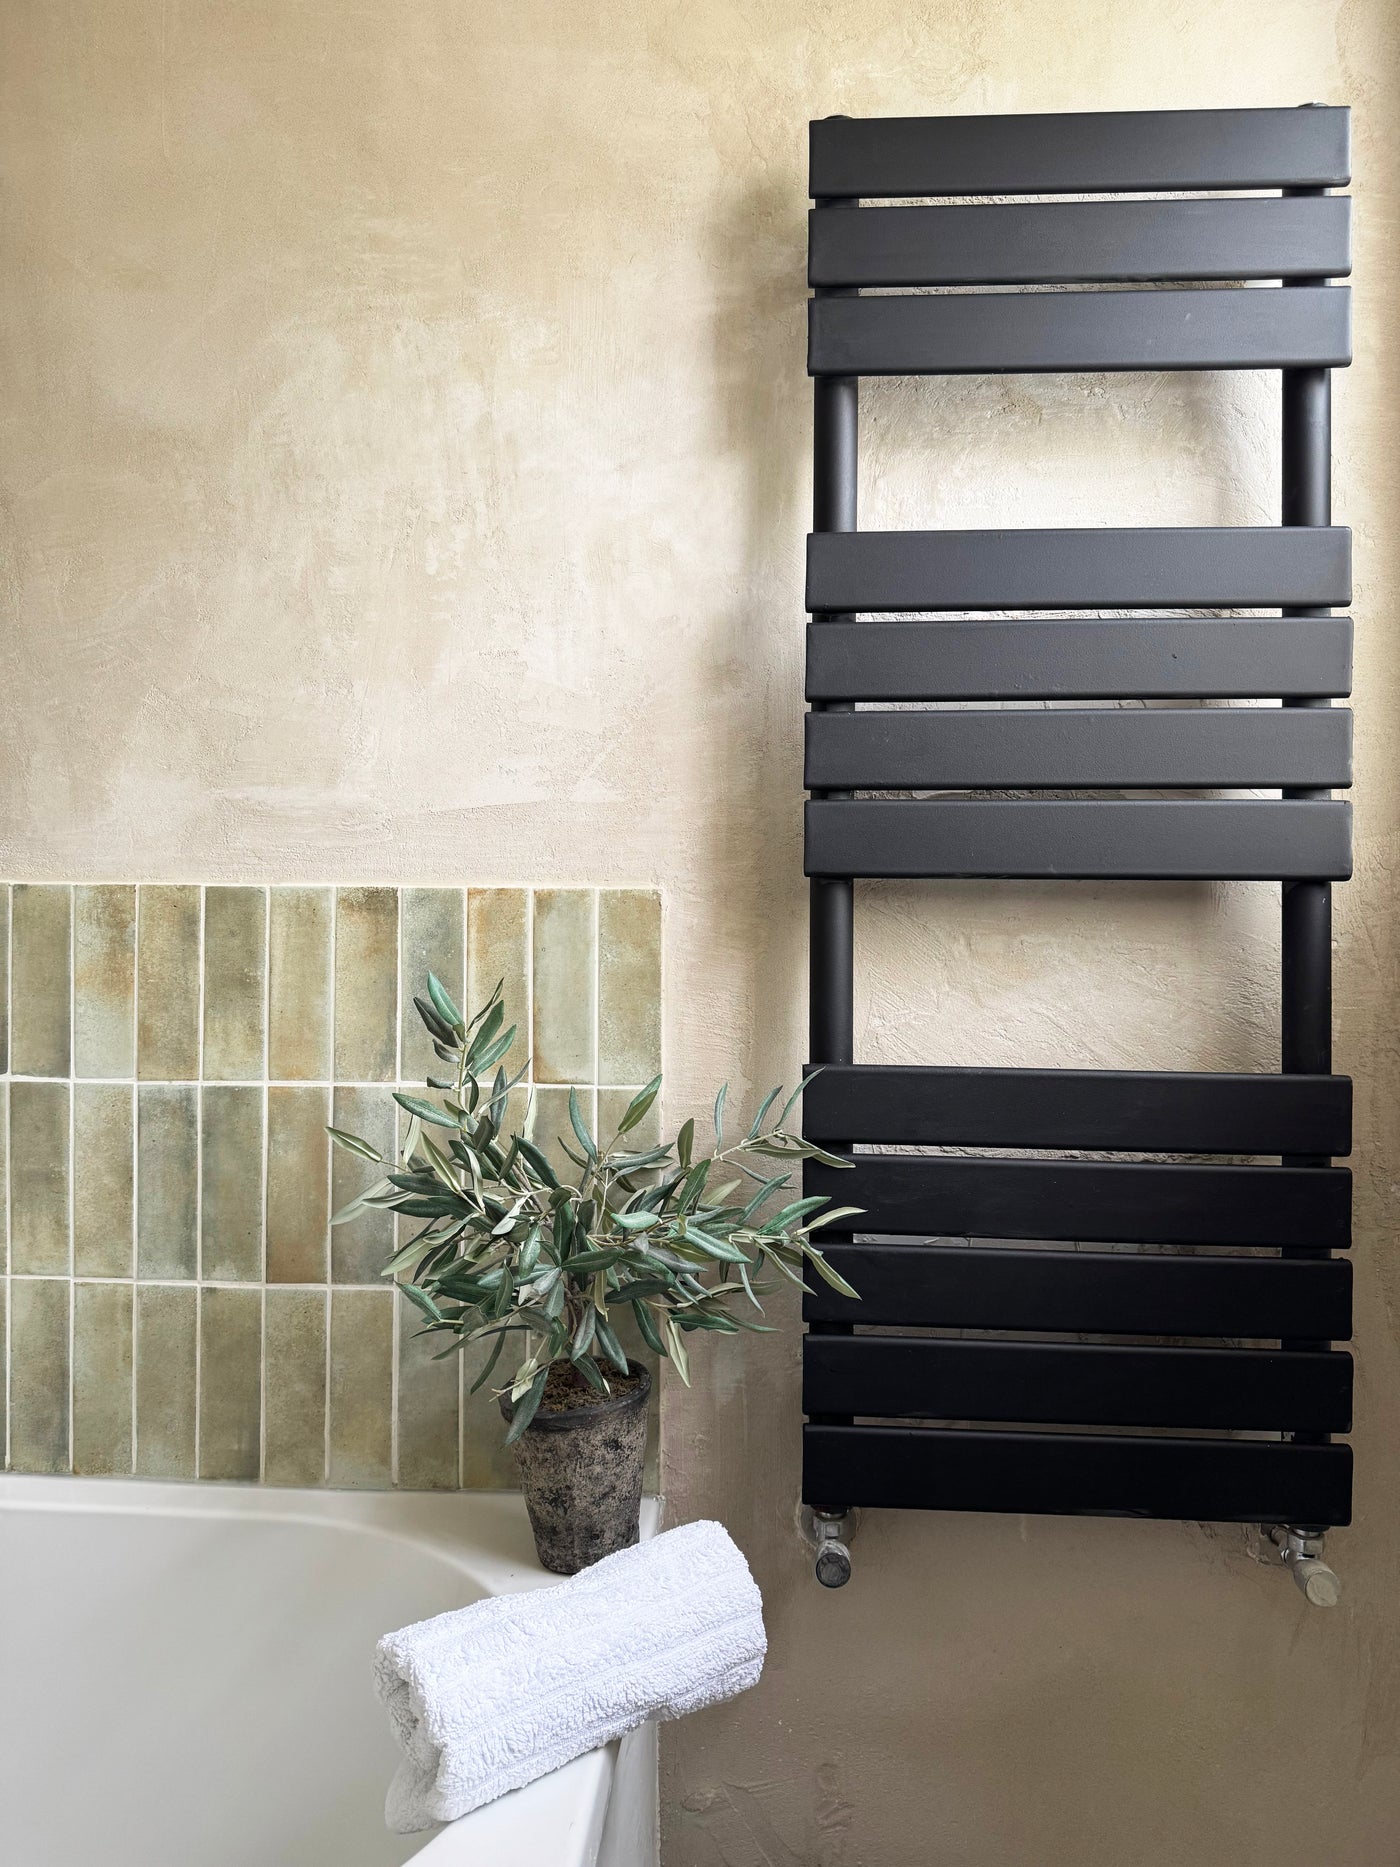
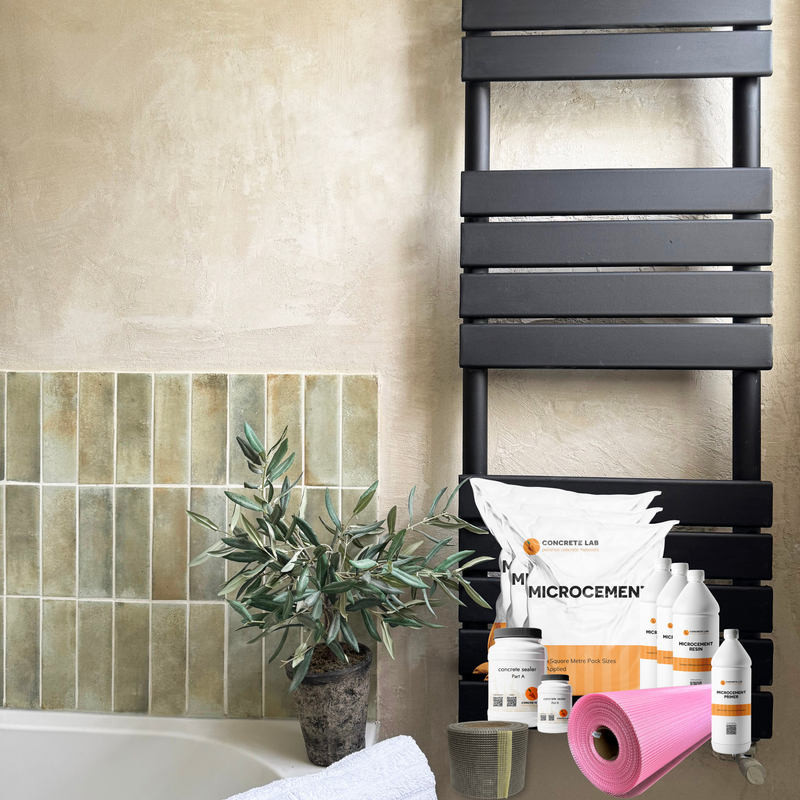
How to apply microcement over wall tiles
No removal, no demolition. Your existing tiles stay exactly where they are.

Prep
Clean your tiles thoroughly and apply a bonding primer. No removal, no mess — your existing tiles stay exactly where they are.

Apply
Three coats of microcement — embed the included fibreglass mesh into Coat 1 for strength and crack resistance, then apply Coats 2 and 3 with a drying window between each.

Seal
Apply three coats of sealer using a foam roller. This locks the surface, makes it waterproof and wipe-clean, and gives you your chosen finish — matte or satin. Allow to cure fully before use.
Microcement Kits
Everything you need for a professional polished concrete finish — done yourself.
Apply over existing walls — no demolition needed. Done in a weekend.
Apply over existing wall tiles. No ripping off tiles. A seamless finish in no time at all.
Let customers speak for us

Fast delivery and easy to use website to select your package. It was really helpful ordering samples too!
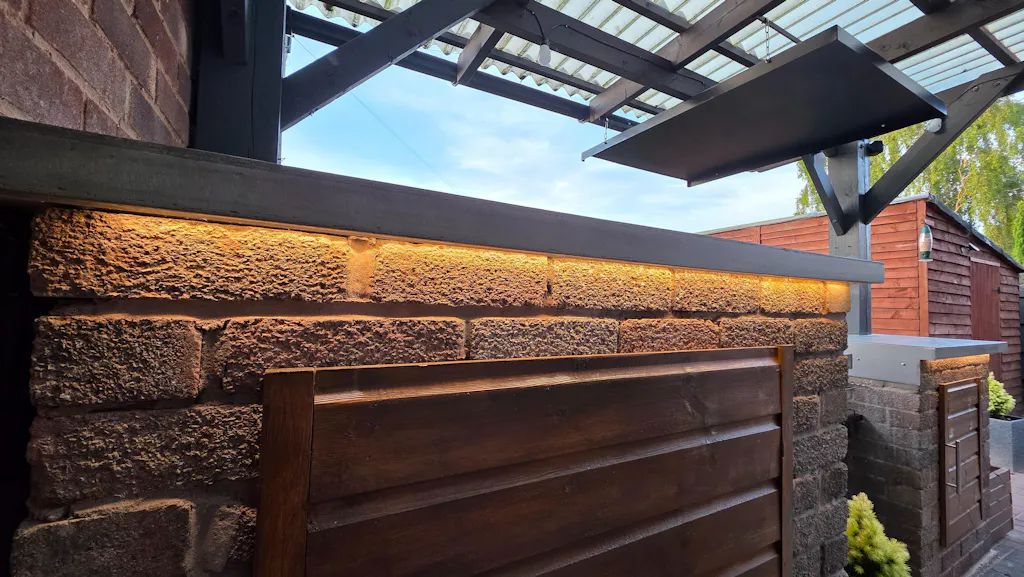
Brilliant product to finish of my brick BBQ. Easy to follow videos and instructions. Just decided to make it a little harder on myself on the form work, to add a big touch on the worktop. And decided to do it around the 10*C, just about possible. Colour looks amazing. Might have another product later on.

Brilliant product and fantastic customer service
Only ordered a sample so far but quick delivery, so will see how the full kit goes
Only ordered some samples but they arrived swiftly and gave Us a great idea of finishess.

Easy to use, great finish. Would absolutely recommend this product.
Order done samples which came quickly. I contacted Tony who was super helpful with advice for my diy project.

Lovely colour, looks perfect for what we need! Have emailed Toby and he’s been super helpful with advice. Very happy so far!
Amazing customer service & very easy to use! So happy with the finished product. Will definitely buy from concrete lab again!
Lovely colour..samples arrived well packaged.
Really helpful, as I had a question regarding an out of stock item. Answered super quick and were really helpful. As such, I ordered a sample and it arrived, pretty much, next day. It was perfect, so I will be ordering. Many thanks!
Really nice colour and texture. Can’t wait to do whole room with it

I was deciding between light grey and off white and this helped
Good service
Supper samples ,simple and to the point ,just the right size
Thanks again Brian
What customers think about the store
This store excels in providing high-quality microcement and concrete products with swift delivery. Customers consistently praise excellent customer service, helpful guidance through videos and phone support, and professional results. The team responds quickly ...
AI-generated from customer reviews.
Everything you need to know before you order
Our microcement bonds directly to most solid, structurally sound substrates — including plastered walls, tiles, moisture-resistant MDF, existing concrete, plywood, cement board and many more. The surface must be clean, dry and stable before you begin. Full substrate guidance is included in your kit.
No. The kit is designed specifically for confident DIYers with no prior microcement experience. The pre-dosed components remove all the measuring and mixing guesswork. Follow the step-by-step video guides included with your order and you'll achieve a professional finish. First-timers complete this every weekend.
Most indoor worktop projects are completable over a weekend — typically 1 to 2 days including drying time between coats. Day 1 covers primer, mesh tape and the first microcement coat. Day 2 covers the second coat and sealer. You'll need to allow the sealer to cure fully before putting the worktop back into heavy use.
Both systems use the same microcement formula. The 2-coat kit includes two powder packs, two resin bottles and two dye packs — this is sufficient for most worktop applications and gives excellent colour depth and durability. The 3-coat kit adds a third layer, which gives a slightly richer, more layered finish and extra material for larger or more complex surfaces. If in doubt, the 2-coat system is the right choice for a standard kitchen worktop.
Most application issues can be corrected before the sealer is applied — microcement is workable right up until it's sealed. Our support team is available by phone and email throughout your project. If there's a fault with the product itself, we'll replace it immediately, no questions asked.
Yes — we'd always recommend it. Screens show you a colour; a physical sample shows you the colour, texture, sheen and how it reads in your own light. Our colour samples are hand-applied, sealed and waxed — the real product on a real substrate. They're £2–£4 each and could save you ordering the wrong colour for a full kit.
All of our orders are processed quickly and then shipped on a next day service within the UK.
Still not sure? We're happy to talk you through it.